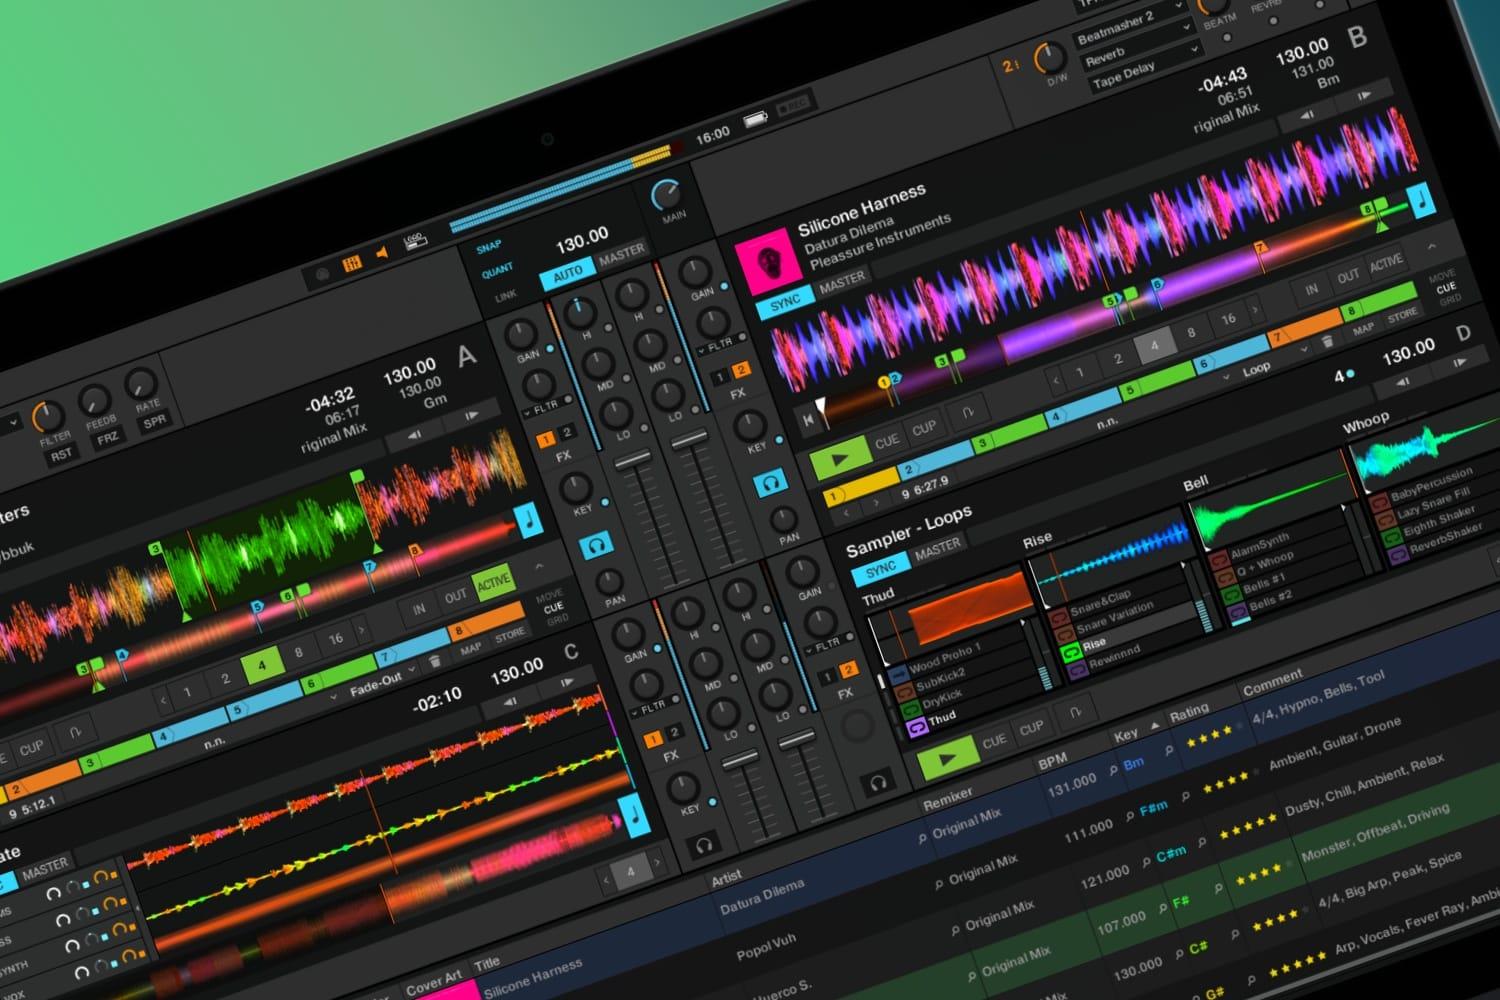
Install Traktor Pro 4 with Native Access, connect your controller, then check Preferences > Audio Setup and Output Routing: Output Master goes to your speakers and Output Monitor to your headphones. Traktor Pro 4 has no Setup Wizard, so Native Instruments and supported controllers set themselves up, and other Traktor Ready controllers need their mapping file imported through the Import button in Preferences.
These steps are for Traktor Pro 4, version 4.5, and use its menu names. Traktor Play, the two-deck version, sets up the same way but leaves out some features, including timecode vinyl; what Traktor is compares the two. Once you're playing, Traktor Pro 4 tips covers the settings worth changing next.
What you need
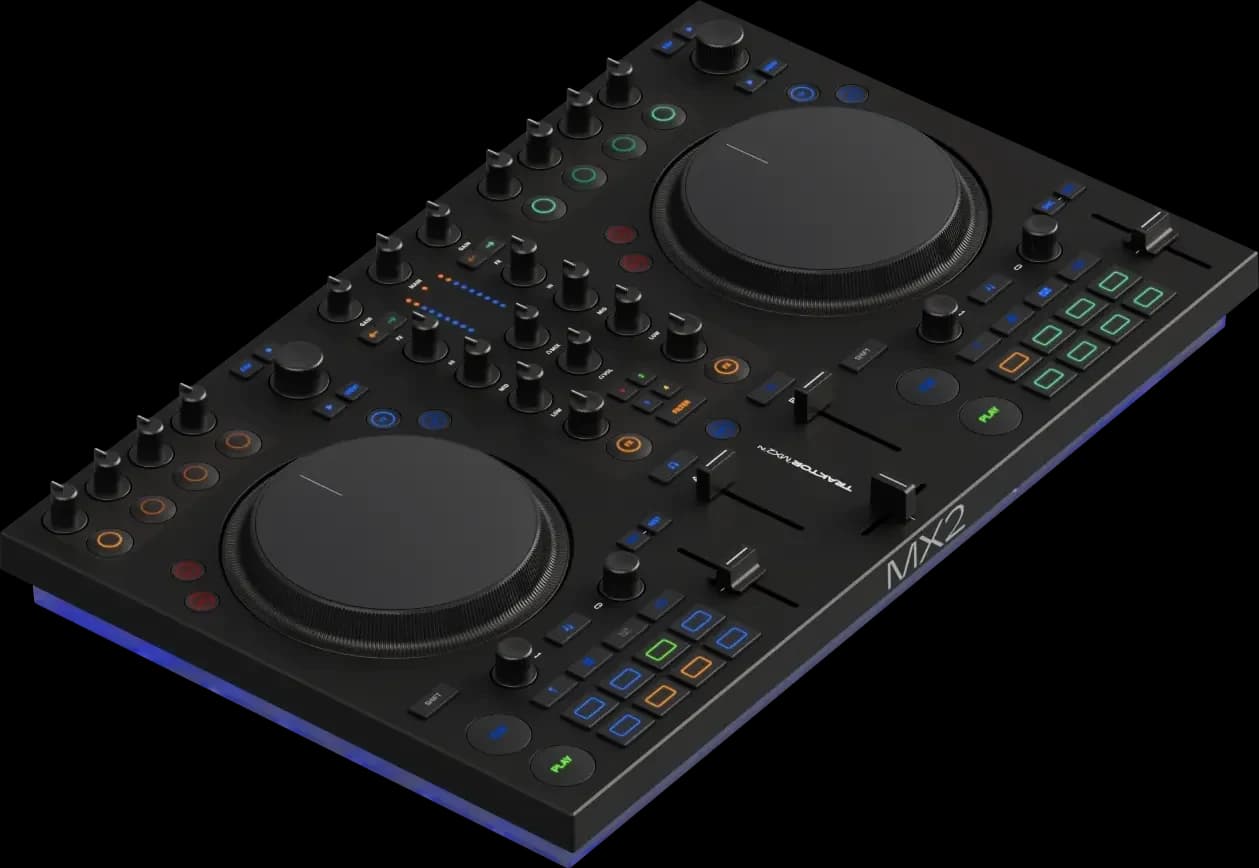
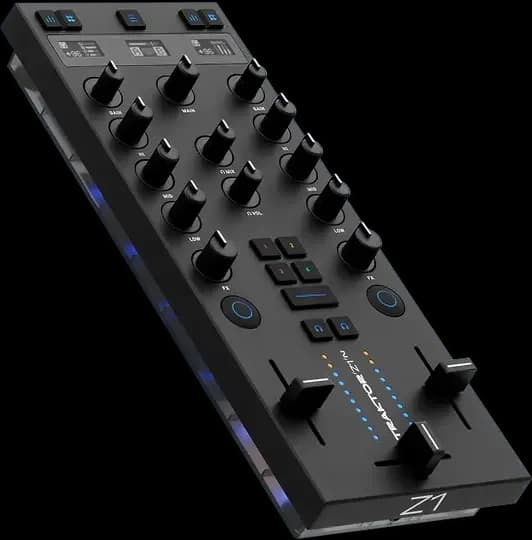
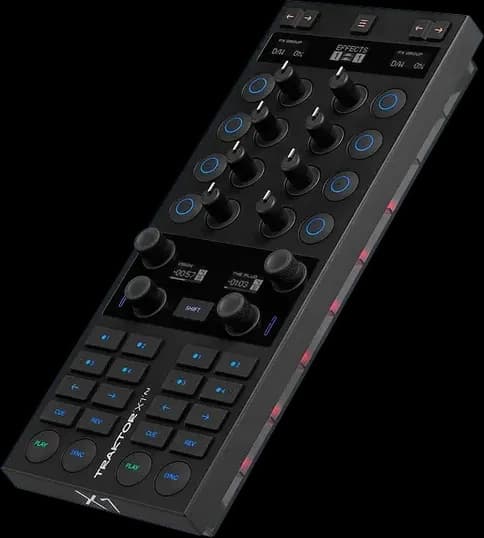
- Traktor Pro 4, installed through Native Instruments' Native Access app. The MX2, X1 MK3 and Z1 MK2 controllers include it; the best Traktor controllers guide covers them. Version 4.5 no longer officially supports macOS 12.
- Two stereo outputs if you want to cue in headphones: Traktor's preview needs an audio interface or controller with two independent stereo outputs, one for the master mix and one for the headphones. A computer's built-in sound card gives only the main output, so you can't preview tracks in headphones with it alone. What an audio interface does explains the options.
First launch
If you've used an earlier version, Traktor Pro 4 offers to import your user content when it first starts. It copies the data to a new folder and leaves the original untouched. It also shows a What's New dialog with links to Native Instruments' tutorial videos.
The Setup Wizard from Traktor Pro 3 is gone. Native Instruments removed it from the Help menu in Traktor Pro 4 and replaced it with an entry to reset settings to their defaults. Older guides and forum posts that start with the wizard don't apply.
Connect your controller
- Native Instruments controllers and certified hardware. Native Instruments says audio routing is usually configured automatically for Traktor Kontrol controllers, certified controllers and audio interfaces.
- Plug-and-play controllers from other brands. Traktor 4.4.0 added automatic setup for the DDJ-FLX4 and DDJ-FLX2, and 4.5 for the Numark Party Mix II, Party Mix Live and DJ2GO2 Touch. On the FLX4, version 4.5's known issues say its microphone inputs have to be turned on by hand under Preferences > Input Routing.
- Other Traktor Ready controllers. Download the controller's mapping from Native Instruments' list of Traktor Ready controllers and unzip it to get a .tsi file. In Traktor, open Preferences, click Import at the bottom of the window, choose the .tsi file and click Open. In the Categories to Import window, tick Controller Mappings (and Audio Device Settings if you want them), then click OK.
- Anything else. Traktor works with any standard MIDI controller, using a mapping from the maker or one you build yourself in Preferences > Controller Manager.
The Import button also loads your own backups. Export writes your settings to a .tsi file, choosing categories such as Controller Mappings, GUI Layout, Audio Device Settings and Effect Settings, which is worth doing before you change anything.
Set up the audio
- Open Preferences from the header.
- On the Audio Setup page, choose your controller or interface from the Audio Device menu. The same page sets the sample rate, buffer size and latency; Traktor Pro 4 tips gives Native Instruments' recommended values.
- On the Output Routing page, choose the Mixing Mode:
- Internal, when you mix in Traktor or on a controller: assign one output pair to Output Master for the speakers and another to Output Monitor for the headphones. A third pair, if your device has one, can go to Output Record.
- External, when each deck goes to its own channel on a hardware mixer: assign Output Deck A and Output Deck B (and C and D for four decks) to the interface outputs wired to the mixer, and Output Preview to hear the browser's Preview Player.
- Close Preferences, load a track and check that cueing it sends sound to your headphones only.
If you update from a version before 4.4.2, check this page again: that update reset custom audio settings, including sample rate, buffer size and output routing, and Native Instruments says older audio configurations are not compatible with it.
Import and analyse your music
- Drag and drop. Drag music files from your computer onto the Track Collection folder in the browser tree. Traktor imports them with their tags and analyses them.
- Import music folders. Add the folders where you keep music under Preferences > File Management > Music Folders (click Add…), then right-click Track Collection and choose Import Music Folders.
- iTunes. Your iTunes library appears as a folder in the browser tree. Select tracks, right-click and choose Import to Collection to add them.
- Analyse before you play. Analysis works out BPM, beatgrid, key and gain, and it loads the CPU. Analyze new imported tracks, on the File Management page, analyses imports automatically. To analyse a batch yourself, right-click tracks or a playlist, choose Analyze (Async), and pick All for the defaults or Special to choose BPM, beatgrid, key and gain separately. Native Instruments advises against Parallel Processing while you're playing live.
Set the BPM range and key notation first, under Preferences > Analyze Options; the BPM and key finder guide explains both.
Choose a layout
Pick a layout from the Traktor layout menu in the header. Traktor Pro 4 has six:
| Layout | What it shows |
|---|---|
| Essential | Decks with waveforms and transport controls, with the internal mixer hidden; suits a controller with its own mixer |
| Extended | Decks with the Advanced Panel for hotcues and loops, plus the mixer and FX units |
| Browser | The browser at full size with small decks, for preparing playlists |
| Mixer | Listed in the manual without a description |
| Parallel | Waveforms stacked across the window, so you can see whether beats line up; up to four decks |
| Preparation | Deck A and the browser enlarged, for setting cue points and loops |
Double-click a deck header to cycle through the seven deck sizes, from Micro to Parallel Full. Traktor remembers the choice for each layout.
Mix your first two tracks
These steps follow Native Instruments' first-mix tutorial, with Traktor's internal mixer.
- Move the crossfader fully left, with channel A on the left side of it and channel B on the right. Push both channel faders up, set the MAIN knob to the centre (0.0 dB), and turn your speakers down.
- Drag a track onto Deck A, click Play, and slowly bring your speakers up.
- Drag a track with a similar tempo onto Deck B and click SYNC on Deck B. Its tempo fader moves to match Deck A.
- Near the end of Deck A's track, start Deck B, then move the crossfader slowly to the centre, and fully right as Deck A ends. Deck B becomes the Tempo Master.
Keep the channel meters out of the red. Traktor's limiter protects the main output, and Native Instruments advises against turning it off; Auto Gain, on by default, evens out levels as tracks load. To blend more smoothly, turn Deck B's LOW knob down before you bring it in, then swap the bass between the two decks. DJ transitions covers this and other ways to mix, and how to beatmatch covers matching tempos without SYNC.
Timecode vinyl and CDs
Timecode control needs Traktor Pro 4, not Traktor Play. For two decks, Native Instruments lists two turntables or CD players, two Traktor Scratch control vinyls or CDs, and either a scratch-certified mixer or a two-channel mixer with an audio interface that has two inputs and two outputs.
- Connect the turntables or players to the interface inputs, and the interface outputs to the mixer's line inputs.
- In Preferences > Audio Setup, choose the interface.
- In Output Routing, set Mixing Mode to External and assign Output Deck A and Output Deck B.
- In Input Routing, assign Input Deck A and Input Deck B.
- In Timecode Setup, choose Scratch Control for Decks A and B.
- In Decks Layout, set Platter / Scope to Scope for both decks.
- Play the control records or CDs. Traktor calibrates itself on the first signal; it's ready when the signal meter is full and the scope shows two circles.
Absolute mode follows the needle, so you can drop it anywhere on the record. Relative mode lets you use loops, cue points and sync, and Traktor switches to it when you start a loop. The digital vinyl systems guide explains how timecode works.
How this page is made
Every setting and step on this page comes from Native Instruments' online Traktor Pro manual, read on 13 October 2026: setting up Traktor, the Preferences reference, the basic usage tutorials, managing the Track Collection and setting up scratch control. Version details come from Native Instruments' release notes up to 4.5, and the controller import steps from its Traktor Ready setup guide. Setting names are as Traktor shows them in English. The methodology explains how the site works.