Start with Traktor Pro 4's Audio Setup page: Native Instruments recommends a buffer size between 256 and 512 and a latency of 5 to 10 ms, and calls 44.1 kHz the standard sample rate, noting that higher rates need more CPU. Then turn on Loading only into stopped Deck, set how each FX unit is routed, and learn Flux mode, Key Lock, stems and Smartlists, which save the most work in a set.
These tips are for Traktor Pro 4, currently version 4.5, and every setting named here is in Preferences unless the tip says otherwise. Traktor Play, the two-deck version, leaves some of these features out; what Traktor is compares the two, and getting started with Traktor covers the first setup.
Audio setup
On the Audio Setup page, per Native Instruments' Preferences reference:
- Sample Rate. 44.1 kHz is the standard rate, the one CDs use, and higher rates need more CPU.
- Buffer Size. A bigger buffer takes longer to reach the output. Native Instruments recommends 256 to 512.
- Latency. Start around 15 ms and work down; 5 to 10 ms is adequate. Lower is more responsive but loads the CPU more, and too low causes dropouts and glitches. On a Mac, set it with the slider; on Windows, the Settings button opens your audio device's control panel.
- Multi-Core. Enable Multi-Core Processor Support brings CPU load down for heavy tasks such as Key Lock on every deck. Turn it off if you run a second real-time audio app on the same computer.
Output Routing is set up automatically for Traktor Kontrol controllers, certified controllers and audio interfaces. With anything else, check it before a gig. With Traktor's internal mixer, Output Monitor is your headphones (and the browser's Preview Player), Output Master goes to the speakers and Output Record feeds a recorder. With an external mixer, each deck gets its own output pair.
Leave the limiter on. Traktor's limiter stops the master output clipping, and Native Instruments advises against switching it off. For more transparent limiting, choose Ozone as the Limiter/Boost Type on the Mixer page and tick Enabled. Auto Gain, which levels each track as it loads, is on by default; the clipping explainer covers why levels matter.
Settings that prevent mistakes mid-set
- Loading only into stopped Deck (Loading page) stops you loading a track onto the deck that's playing.
- Track End Warning (Track Decks page) makes the Stripe flash red a set number of seconds before a track ends, anywhere from 0 to 120.
- Sync Mode (Transport page): TempoSync keeps tempos matched only, and BeatSync keeps both tempo and phase, realigning the beats when you let go of a jog wheel or record. Only On-Air Decks can be Tempo Master makes sure synced decks never follow a deck nobody can hear.
- Analyse before the gig. Analysing tracks as you load them takes time mid-set. On the File Management page you can set when Traktor analyses, or right-click a playlist and choose Analyze (Async) in advance. Narrowing the BPM range makes the tempo detection more accurate, Native Instruments says.
- Check the collection. Right-click Track Collection and choose Check Consistency for a report of missing and unanalysed tracks, with buttons to relocate, remove or analyse them.
Effects
- Choose the routing for each FX unit. On the Effects page, FX Unit Routing offers three modes. Insert places the effect before the channel filter. Post Fader places it after the channel fader, so the effect keeps sounding when you pull the fader down: that's the setting for letting a delay ring out at the end of a track. Post Fader isn't available with an external mixer. Send makes the unit a send effect, fed from one of your audio interface's inputs and returned to one of its outputs.
- Use four units. Tick 4 FX Units to add FX Units 3 and 4 to the Global Section.
- Shorten the effect list. FX Pre-Selection on the same page keeps only the effects you use in the menus.
- Mixer FX put one effect on each channel's single knob. The Filter is always there, and you choose four more from eight on the Mixer page: Reverb, Dual Delay, Noise, Time Gater, Flanger, Barber Pole, Dotted Delay and Modern Krush.
- Beatmasher 2 samples one bar of the playing track when you switch it on and mashes it up; to grab a new bar, switch it off and on again. Gater mutes the sound rhythmically, at rates from a quarter to a thirty-second of a bar. Both follow the beatgrid, and the effect reference says the Gater needs well-aligned grids to land on the beat.
Cues, loops and Flux mode
- Hotcues. Open a deck's Advanced Panel and choose CUE. Each track has eight Hotcue buttons: a stored cue point lights blue, a stored loop green, and the MAP button moves one to another button.
- Flux mode. Turn on Flux and Traktor keeps a second, silent playhead running while you loop or jump to a hotcue. When you let go, playback carries on from where the track would have been, so the phrase stays intact.
- Loops in transitions. Native Instruments' manual describes loops as a way to extend track transitions, for example by looping a beat-only section of the outgoing track while you bring the next one in.
- Cruise mode mixes through a playlist by itself. Set Fade In and Fade Out cue points in tracks to control where it mixes.
Key Lock and harmonic mixing
The Key Lock button in each deck's Stripe locks the track's original key so you can change its tempo without changing its pitch, and the browser then highlights tracks in matching keys in the Key column. The semitone buttons beside it transpose the locked key, and Native Instruments recommends moving no more than two semitones, as larger shifts can sound bad. To see the exact key after a tempo change, choose Resulting Key for the deck header on the Track Decks page. The guide to mixing in key explains the theory.
Stems
Traktor Pro 4 can split any track you own into four stems: drums, bass, vocals and "other", the instrumental remainder. Right-click a track and choose Generate Stems. Depending on your CPU, it takes between a third and two thirds of the track's playing time, and the stems stay linked to the original track.
By default, dragging the track to a deck loads the stem version; hold Shift while dragging to load the original. Each stem has its own volume, mute, filter and FX send, so you can take the vocals from one track over the beat of another, or send only the vocals to a delay while the drums stay dry.
Organise the collection
- Smartlists fill themselves from filters. Right-click Playlists and choose Create Smartlist; the filters include BPM, Key, Genre, Color, Rating, Comment, Import Date, Last Played Date and Play Count. A Smartlist can't be ordered by hand; right-click it and choose Save As Playlist when you want to.
- Preparation Playlist. Right-click a playlist and choose Select as Preparation List, then use Append to Preparation Playlist or Add as Next on any track to queue it for the set.
- Colours. The Color Picker assigns colours to tracks, which Smartlists can filter by.
- History. Traktor saves each session's history when it closes, under Explorer > Archive in the browser.
- Backups. Every time you change the collection and close Traktor, it saves a backup in the Backup folder in Traktor's root folder. To roll back, right-click Track Collection and choose Import another Collection. For a full copy on another drive, right-click Track Collection, choose Export the Collection and tick Copy Tracks To Destination.
Beatgrids
Sync, loops, beat jumps and tempo-synced effects all rely on the grid. To fix one, open the deck's Advanced Panel and choose GRID; turn on Beat Tick to hear a click on every grid beat. For a track with a few tempo changes, set a Grid Marker on the first downbeat and at each change, then adjust the BPM between markers. For a live recording with a drifting beat, set a marker every 16 beats, or every 4 if it still drifts. Lock the grid when it's right. The beatgrid explainer covers the basics.
Layouts and recording
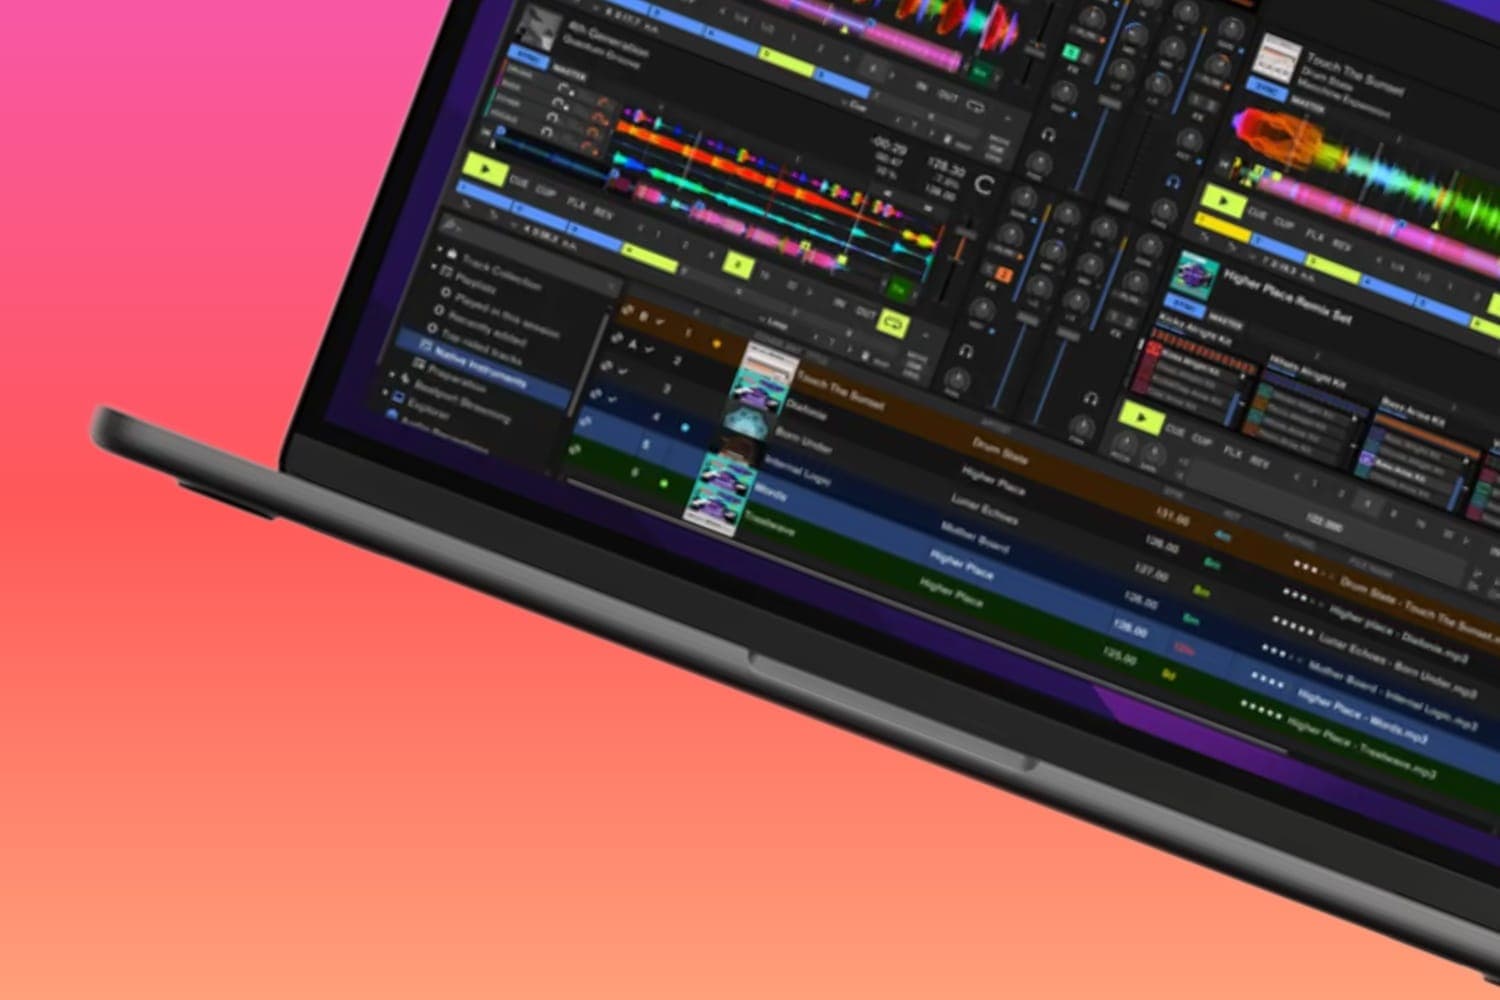
- Layouts. Choose a layout from the drop-down in the header. Parallel stacks the decks' waveforms across the window, so you can see whether beats line up without listening; Preparation enlarges one deck and the browser for setting cues; double-click a deck header to cycle through deck sizes.
- Record your mix. On the Mix Recorder page, set Source to Internal and choose a folder. Then open the AUDIO RECORDER in the Global Section, set the level with its GAIN knob and press Record. CUT starts a new file without a gap.
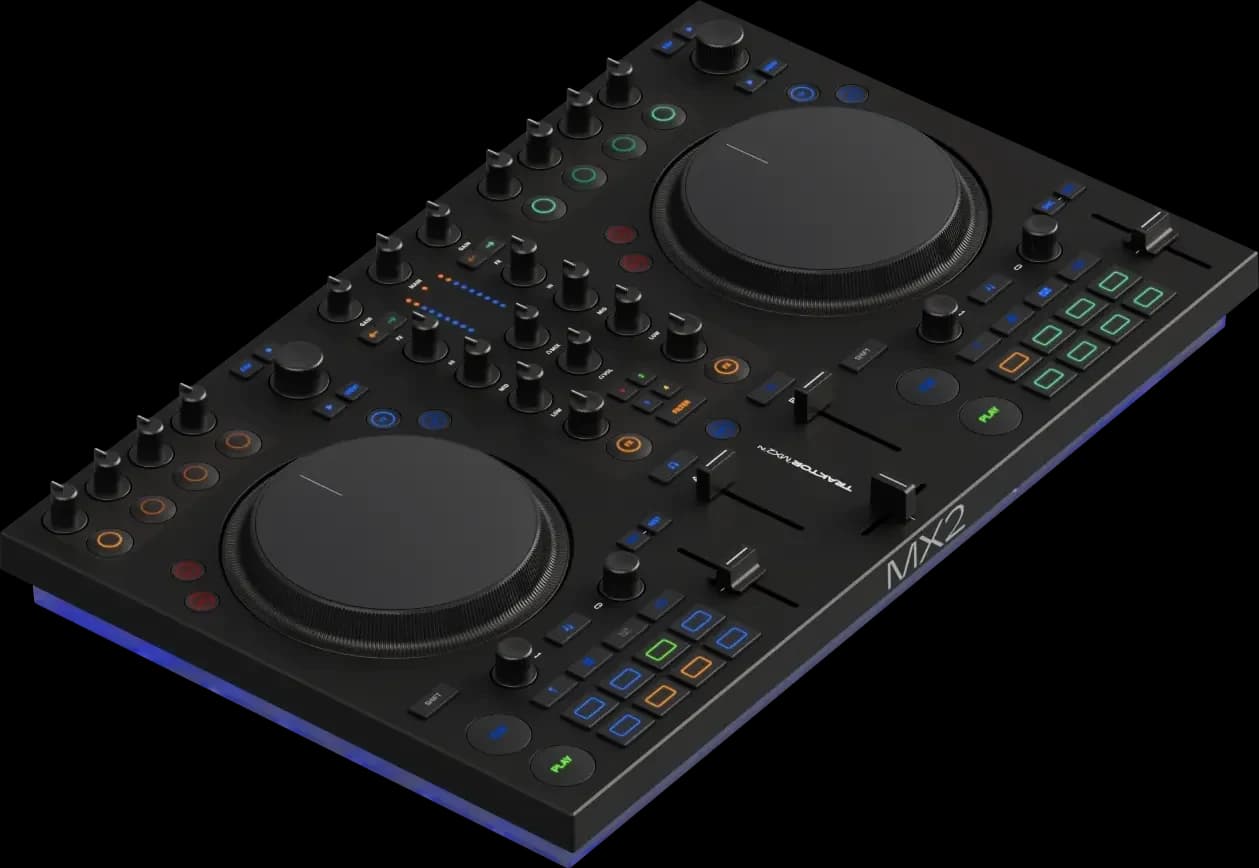
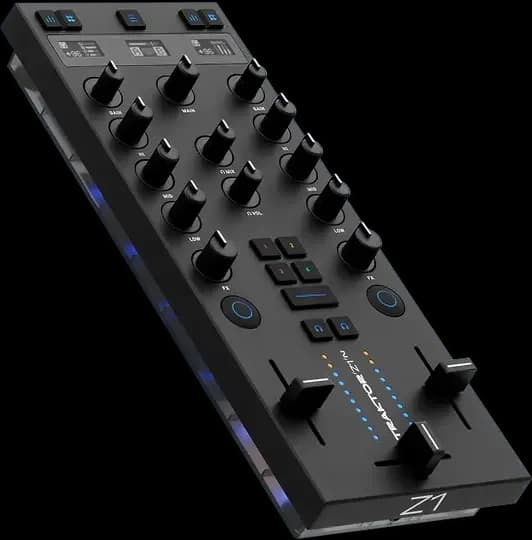
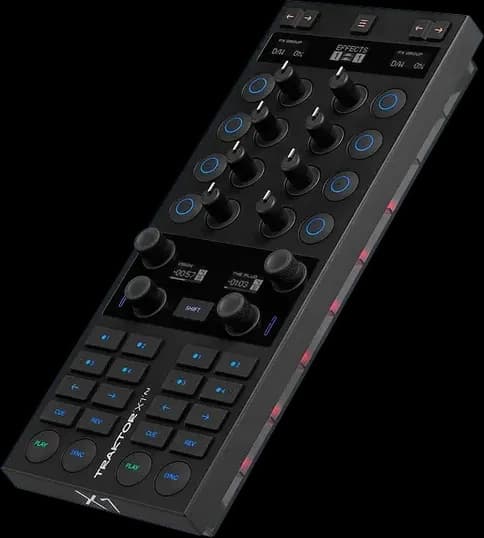
For hardware, the best Traktor controllers guide compares the current range, including the Traktor MX2, Kontrol S4 MK3 and Kontrol S2 MK3.
How this page is made
Every setting and step on this page comes from Native Instruments' online Traktor Pro manual, read on 12 October 2026: the Preferences reference, the basic and advanced tutorials, managing the Track Collection, working with playlists, advanced operation, setting up Traktor and the effect reference. The version number comes from Native Instruments' 4.5 release notes. Setting names are as Traktor shows them in English. The methodology explains how the site works.