


If you’re doing any kind of music production, MIDI will come into play A LOT!
You’ll use enormous amounts of MIDI to create head-nodding beats. Every electronic note, rhythm, synth, and composition comes from MIDI.
Understanding it is simple enough; learning how to use MIDI is a little more challenging. No need to fret, we’ll walk you through it!
You’ll learn the fundamentals, equipment, and how to use MIDI in your audio workflow. Even if you’re a MIDI wiz, you might find something of value here.
What is MIDI?
So you will have heard about it before but what is MIDI?
MIDI is a standardized communication system between musical devices. It allows hardware and software of all types to sync with each other. For the computer guys out there, it’s a universal protocol.
MIDI communicates musical notes and audio characteristics, packaged in an electronic signal. It’s a gaggle of instruments wrapped into one.
Thus, its long-form name, Multiple Instrument Digital Interface. It allows music gear to control and operate a different device’s features and instruments.
Many music producers relate MIDI to electronic music because synthesizer companies set it in place back in the ’80s. Back when Duran Duran was at the height of their game.
The leading manufacturers of that time – Roland, Oberheim, Sequential Circuits & Moog – saw the future advent of digital music devices. They designed and integrated MIDI because music, at its core, is collaborative.
The more equipment and software that collaborates, the better the music produced.
It’s thanks to them we have so many digital toys to play with as DJs. They’ve been rewarded in small part for it.
Kakehashi, President of Roland, and Dave Smith, President of Sequential Circuits, won a Technical Grammy in 2013 for their key contributions to MIDI.
Kudos guys! We owe you one.
So know you know the answer to the question, “what is midi?” let’s roll up our sleeves and get our hands dirty in the details about how to use MIDI.
How Does MIDI Work?
MIDI sends an electronic signal interpreted by other MIDI devices to play sound. As you hit a key on the keyboard, an electric pulse shoots to a digital instrument and replicates the analog note.
The signal is in Binary – the fundamental element of the digital world.
Atoms are to people; what Binary is to data.
All your data that you so preciously prize; All of it is Binary. It’s a language reasonably straight forward. There are only two digits, either a “1” or a “0” called a byte. The different combinations of ones and zeros define your data for the computer.
A MIDI binary signal sends a range of information to musical devices. Let’s go over them quick:
- Note – Sends a pitch that’s the musical equivalent to a pressed key. A Midi note is a representation of the analog note.
- Sustain – The length of a note, or how long a key is pressed. I.e., MIDI transmits the exact moment you press down on the key and holds the signal until you release it.
- Velocity – How fast a key is pressed. This makes the note’s volume either softer or louder.
- After-Touch – MIDI data detailing pressure applied to the keyboard after the initial key press. After-Touch changes the note’s volume, vibrato, and timbre (more on audio wave characteristics down below).
- *Please note, not all devices support After-Touch. For example, Garage Band MIDI instruments don’t recognize After-Touch data, while Ableton & Reason do.
- Pitchbend – The is a wheel on your MIDI controller that adjusts the pitch in semi-tones as you rotate it.
- 16 Channels – One MIDI stream contains 16 channels. That’s 16 ways you can send and receive MIDI data to different instruments. This doesn’t limit the number of tracks in your DAW. The 16 channels are mostly applicable to sending a MIDI signal through multiple hardware devices.
- MIDI System Messages – A timing clock to synchronize with the master clock, a transport to command the device when to start & stop, and system exclusive message (SysEx).
Analog Vs. MIDI
It’s important to point out that MIDI doesn’t send the same type of signal as an analog instrument. While MIDI transmits a lot of information about sound, it can’t replicate, in exact detail and fidelity, some analog audio characteristics.
While this might seem like we’re bashing on MIDI, we’re merely trying to educate and empower. We love MIDI, and some programs out there capture these sound traits well.
Most songs, nowadays, you hear on the radio have some MIDI elements. It’s become integral to music production.
Here are sonic characteristics that you might not adequately capture with MIDI:
Timbre
It is the independent nature between sound sources. It differentiates two sounds of the same note. For example, a male sings the G note, and then a woman sings the G note.
Will the two people sound the same? You instinctively know they won’t because a male’s voice has different qualities than a woman’s voice. Each person differs in tone. That’s timbre! What makes two instruments sound unique.
MIDI attempts to re-produce analog timbre but doesn’t cut it in some ways. At high volumes, instruments omit a different timbre all together.
Picture strumming your guitar lightly, compared to strumming your guitar with all your might. The body of the guitar vibrates differently, producing a new timbre to the music.
All instruments produce a different Timbre at higher amplitudes. Even the human voice!
Timbre is something that only analog instruments can accurately produce. That’s why some of your notes might seem “too electronic.” Some digital instruments are getting good at producing analog-sounding timbre, but don’t expect perfection.
Attack
The technical definition of attack is how quickly the note reaches full amplitude. In musical performance, it’s how the artist plays the note. Playing the note quick and forceful, or slow and smooth adds a different style to the sound.
MIDI can calculate a rate at which volume reaches a maximum, but it lacks in its ability to stylize the process like an analog instrument.
Vibrato
Picture the pulsations of an opera singer’s voice as she sings the high notes. Vibrato is that pulsating, controlled by the vocal cords, to give the music a rich character.
You won’t get vibrato on a digital instrument that can do the real thing justice.
Midi: The Pros & Cons
Why even learn how to use MIDI? There are several reasons to pass on analog instruments and go with MIDI in music production. We’ll cover the benefits and disadvantages, so you know what to choose for your performance.
Pros
- Multiple instruments at your fingertips with just one device.
- Save thousands of dollars on purchasing analog gear like synths, drum machines, etc.
- Compact, easy to carry set up. A computer and a USB keyboard is all you need.
- Easy editing capabilities. No need to re-record performances. Each note can be adjusted afterward.
- Smaller digital audio files.
- Audio files can easily have ultra-high bit depth and sample rate.
- Replace huge instruments, like drums, in a live performance.
- Stack instruments on top of each other to produce unique sounds.
- Unlock performance parameters not available on analog instruments.
Cons
- Doesn’t perfectly encapsulate analog sound characteristics, like vibrato, timbre, and attack.
- Can’t replicate an analog vocalist very well.
- Playback is only accurate if the MIDI device is identical to the device used for production.
- It is device-dependent, meaning MIDI information needs the device for syncing the sound.
- Working with MIDI is more difficult if you don’t know any music theory.
- Interlinking hardware devices can get technical.
Learning How to Use MIDI
Some of you may have skipped straight to this section because you are already trying to figure out how to use MIDI!
That’s all we want to do, fam, is to help you learn how to use MIDI properly and make MIDI masterpieces. Let’s tackle the nuts and bolts of how to use MIDI, so you get up and running quickly.
Once you find the right set-up for your needs, it isn’t that complex to figure out how to use MIDI. MIDI is much easier than playing an analog instrument – with a lot more creative wiggle room.
Learning how to use MIDI and operate the devices will take some study and practice. Once you get a feel for it, you’ll be astounded at your new musical creativity.
Let’s explain some peripheral gear you might use:
The MIDI Cable & Port
A MIDI signal requires a specific cable and port to connect and interconnect musical devices. The 5-tip, rounded-end DIP connection traditional equipment such as samplers, synthesizers, and sound modules.
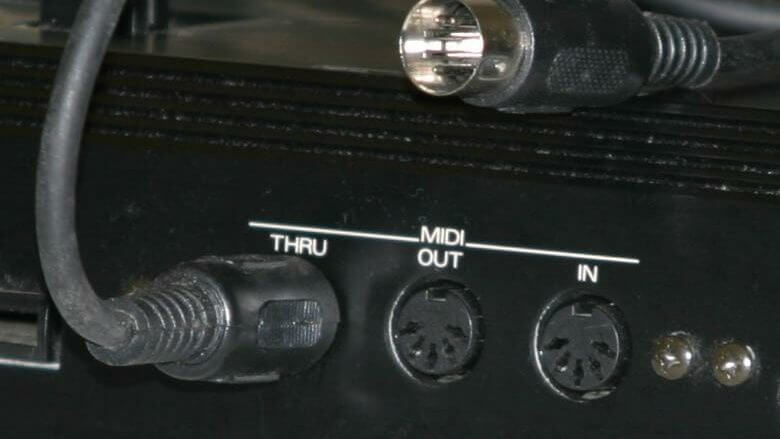
Musical devices will have three MIDI ports:
- Thru – Sends the same MIDI signal to multiple devices. Using the Thru port lets producers play instruments on various devices while operating only one single device. AKA “Daisy Chain.”
- Out – Send a MIDI signal to an external device to use external instruments.
- In – Receives a MIDI signal and uses it to play on-board instruments.
USB MIDI Cable & Port
Many musical devices produced in the last few decades will have MIDI USB capabilities. A single MIDI signal passes through a standard USB cable & port.
USB makes connection easy and efficient while working with a digital workflow. MIDI USB isn’t advantageous if you are using many hardware devices.
MIDI Interface
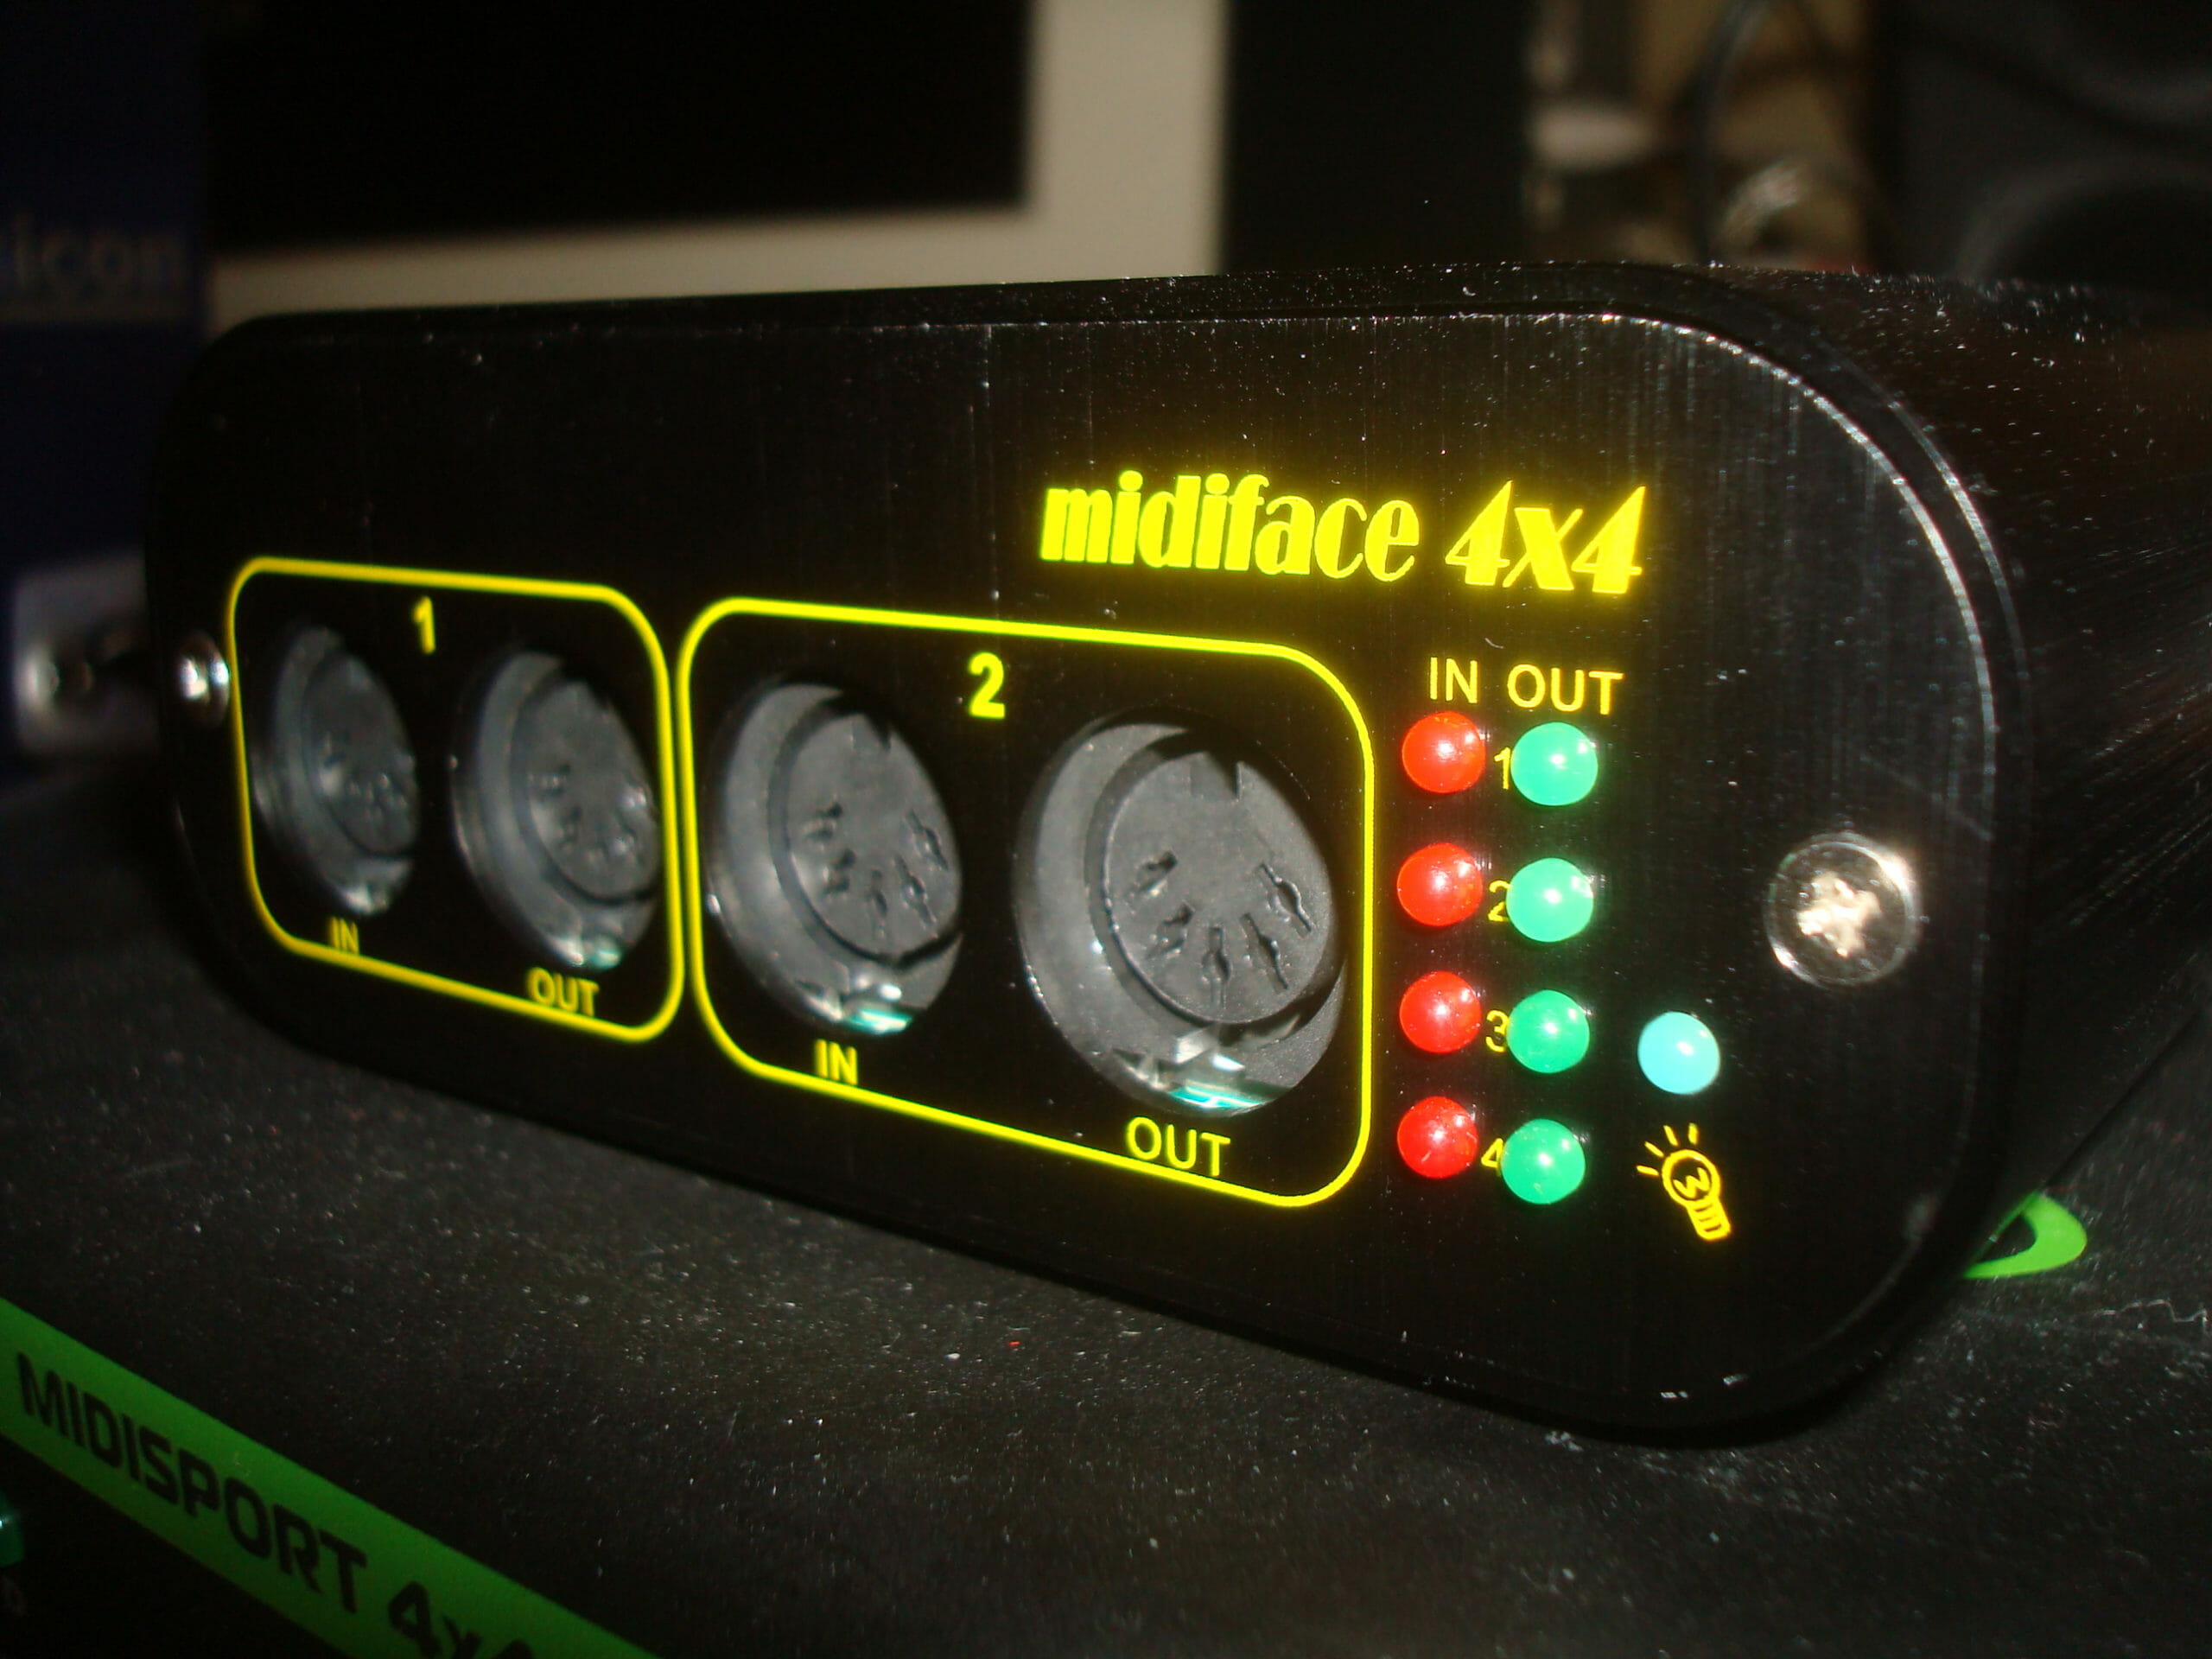
This is an external box that connects several musical devices into one USB input on your computer. It’s a way to send and receive MIDI information in and out of your computer. A MIDI interface is useful if you work with external MIDI gear like synths and drum machines and want to use digital tools as well.
Here are some Fundamental Tools You’ll Use:
Hardware MIDI Sequencer
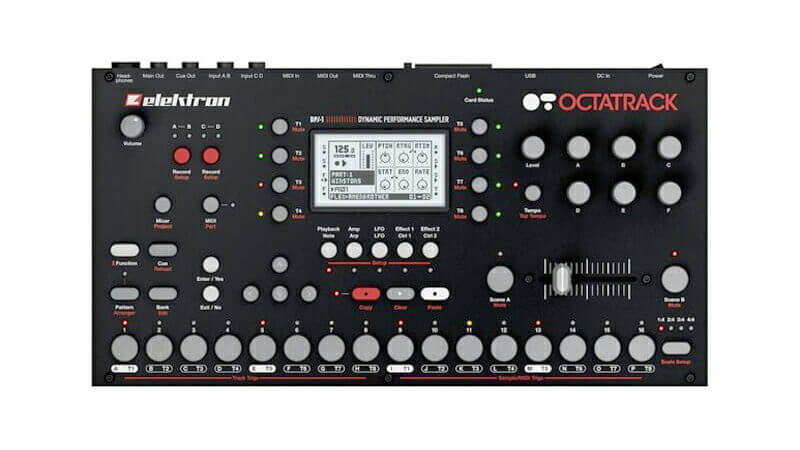
The first device used to create MIDI compositions. Music producers operate a cluster of pads, buttons, and knobs on a compact unit.
It’s commonly referred to as a “step sequencer” because the device builds the composition a step at a time. A music producer creates each step that layers on top of each other.
Once you’ve built a complete step sequence, you can save it as a pattern to play later.
Some hardware sequencers have several independent tracks, with many steps and patterns to utilize.
They are challenging to operate but are extremely useful during live performances. Some hardware sequencers have built-in drum machines, synthesizers, and effects. They can be used to control all kinds of hardware MIDI devices.
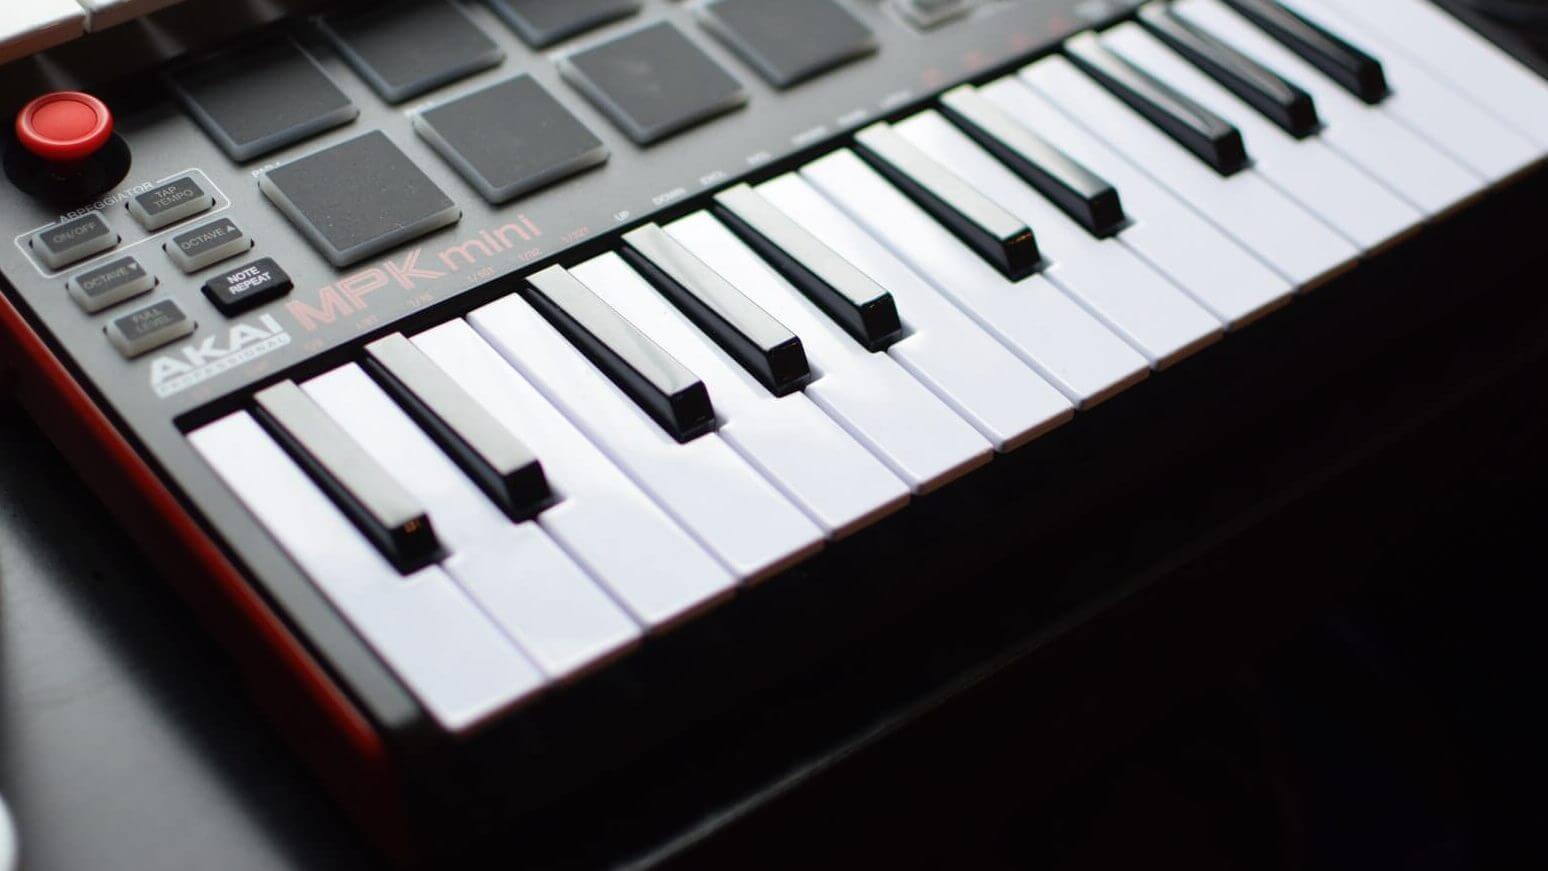
MIDI Controller
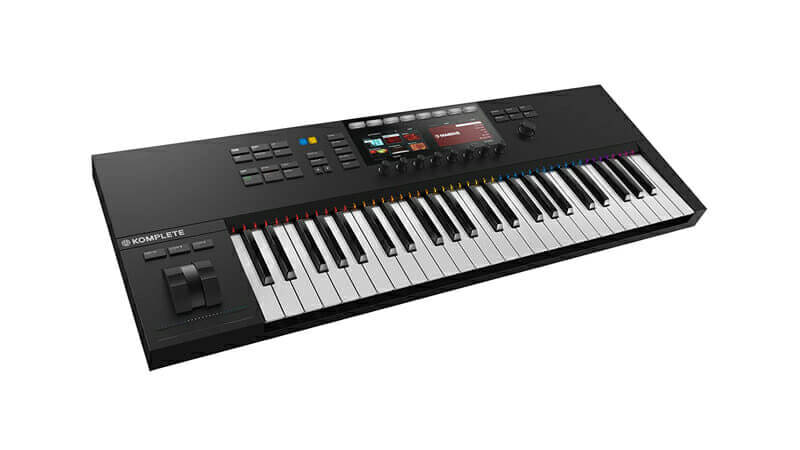
This is a hardware device that plugs into a computer that triggers MIDI notes onto a virtual sequencer. It’s commonly referred to as a MIDI keyboard because the device typically has a series of piano keys for playing notes.
A lot of MIDI controllers have a set of pads that will trigger notes too. Knobs on the MIDI controllers manipulate sound features in the software.
MIDI controllers come in a wide variety of sizes and prices, but they are usually cheap, which makes them a staple for any music producer. A full-size controller will have 88-keys, and smaller models will only have 25-keys.
MIDI controllers may also have standard MIDI IN/OUT/THRU ports to integrate with other music devices. Some MIDI controllers act as hardware sequencers if you don’t want to produce music with a DAW.
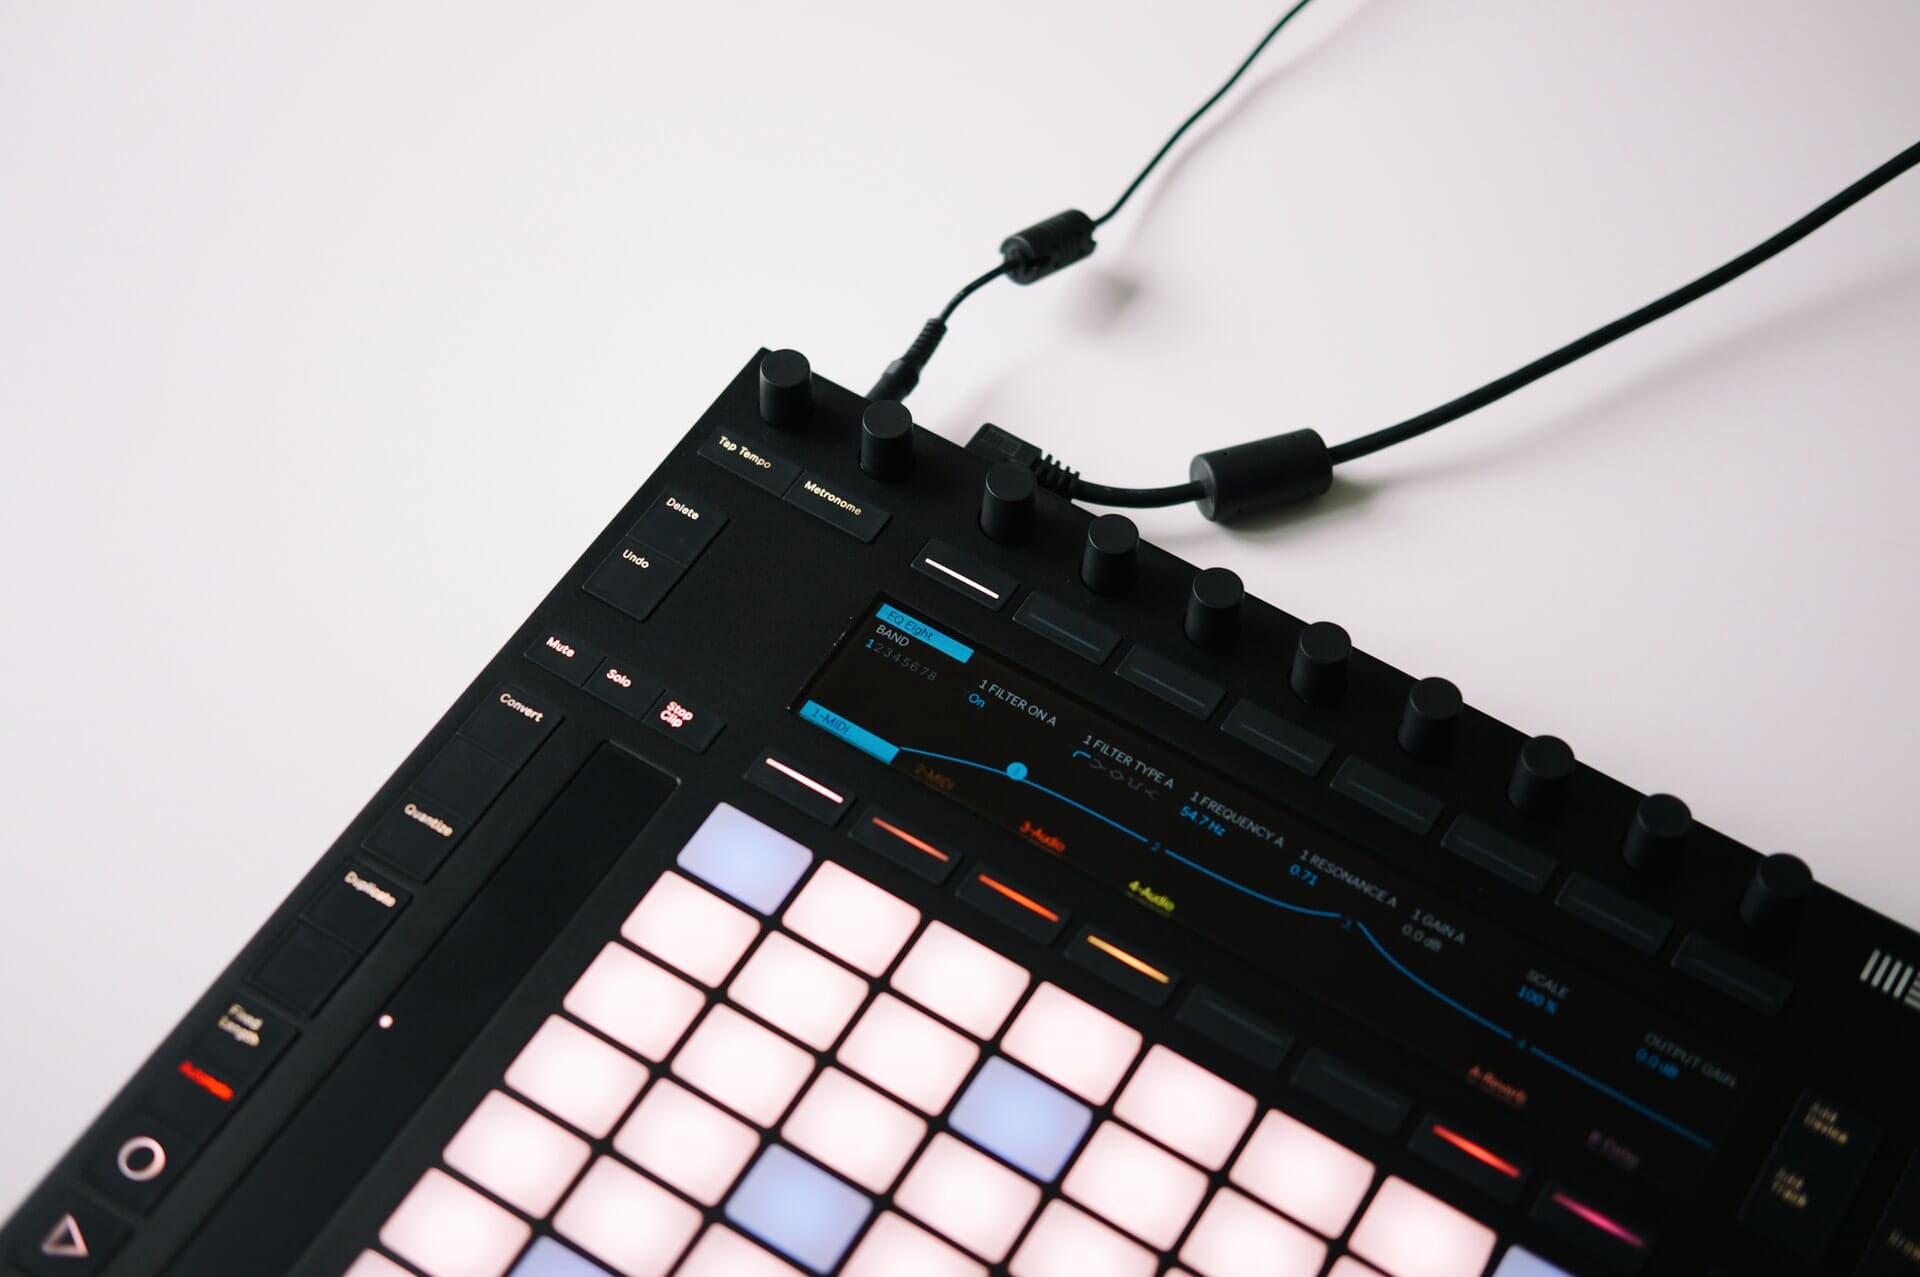
Virtual MIDI Sequencer (DAW)
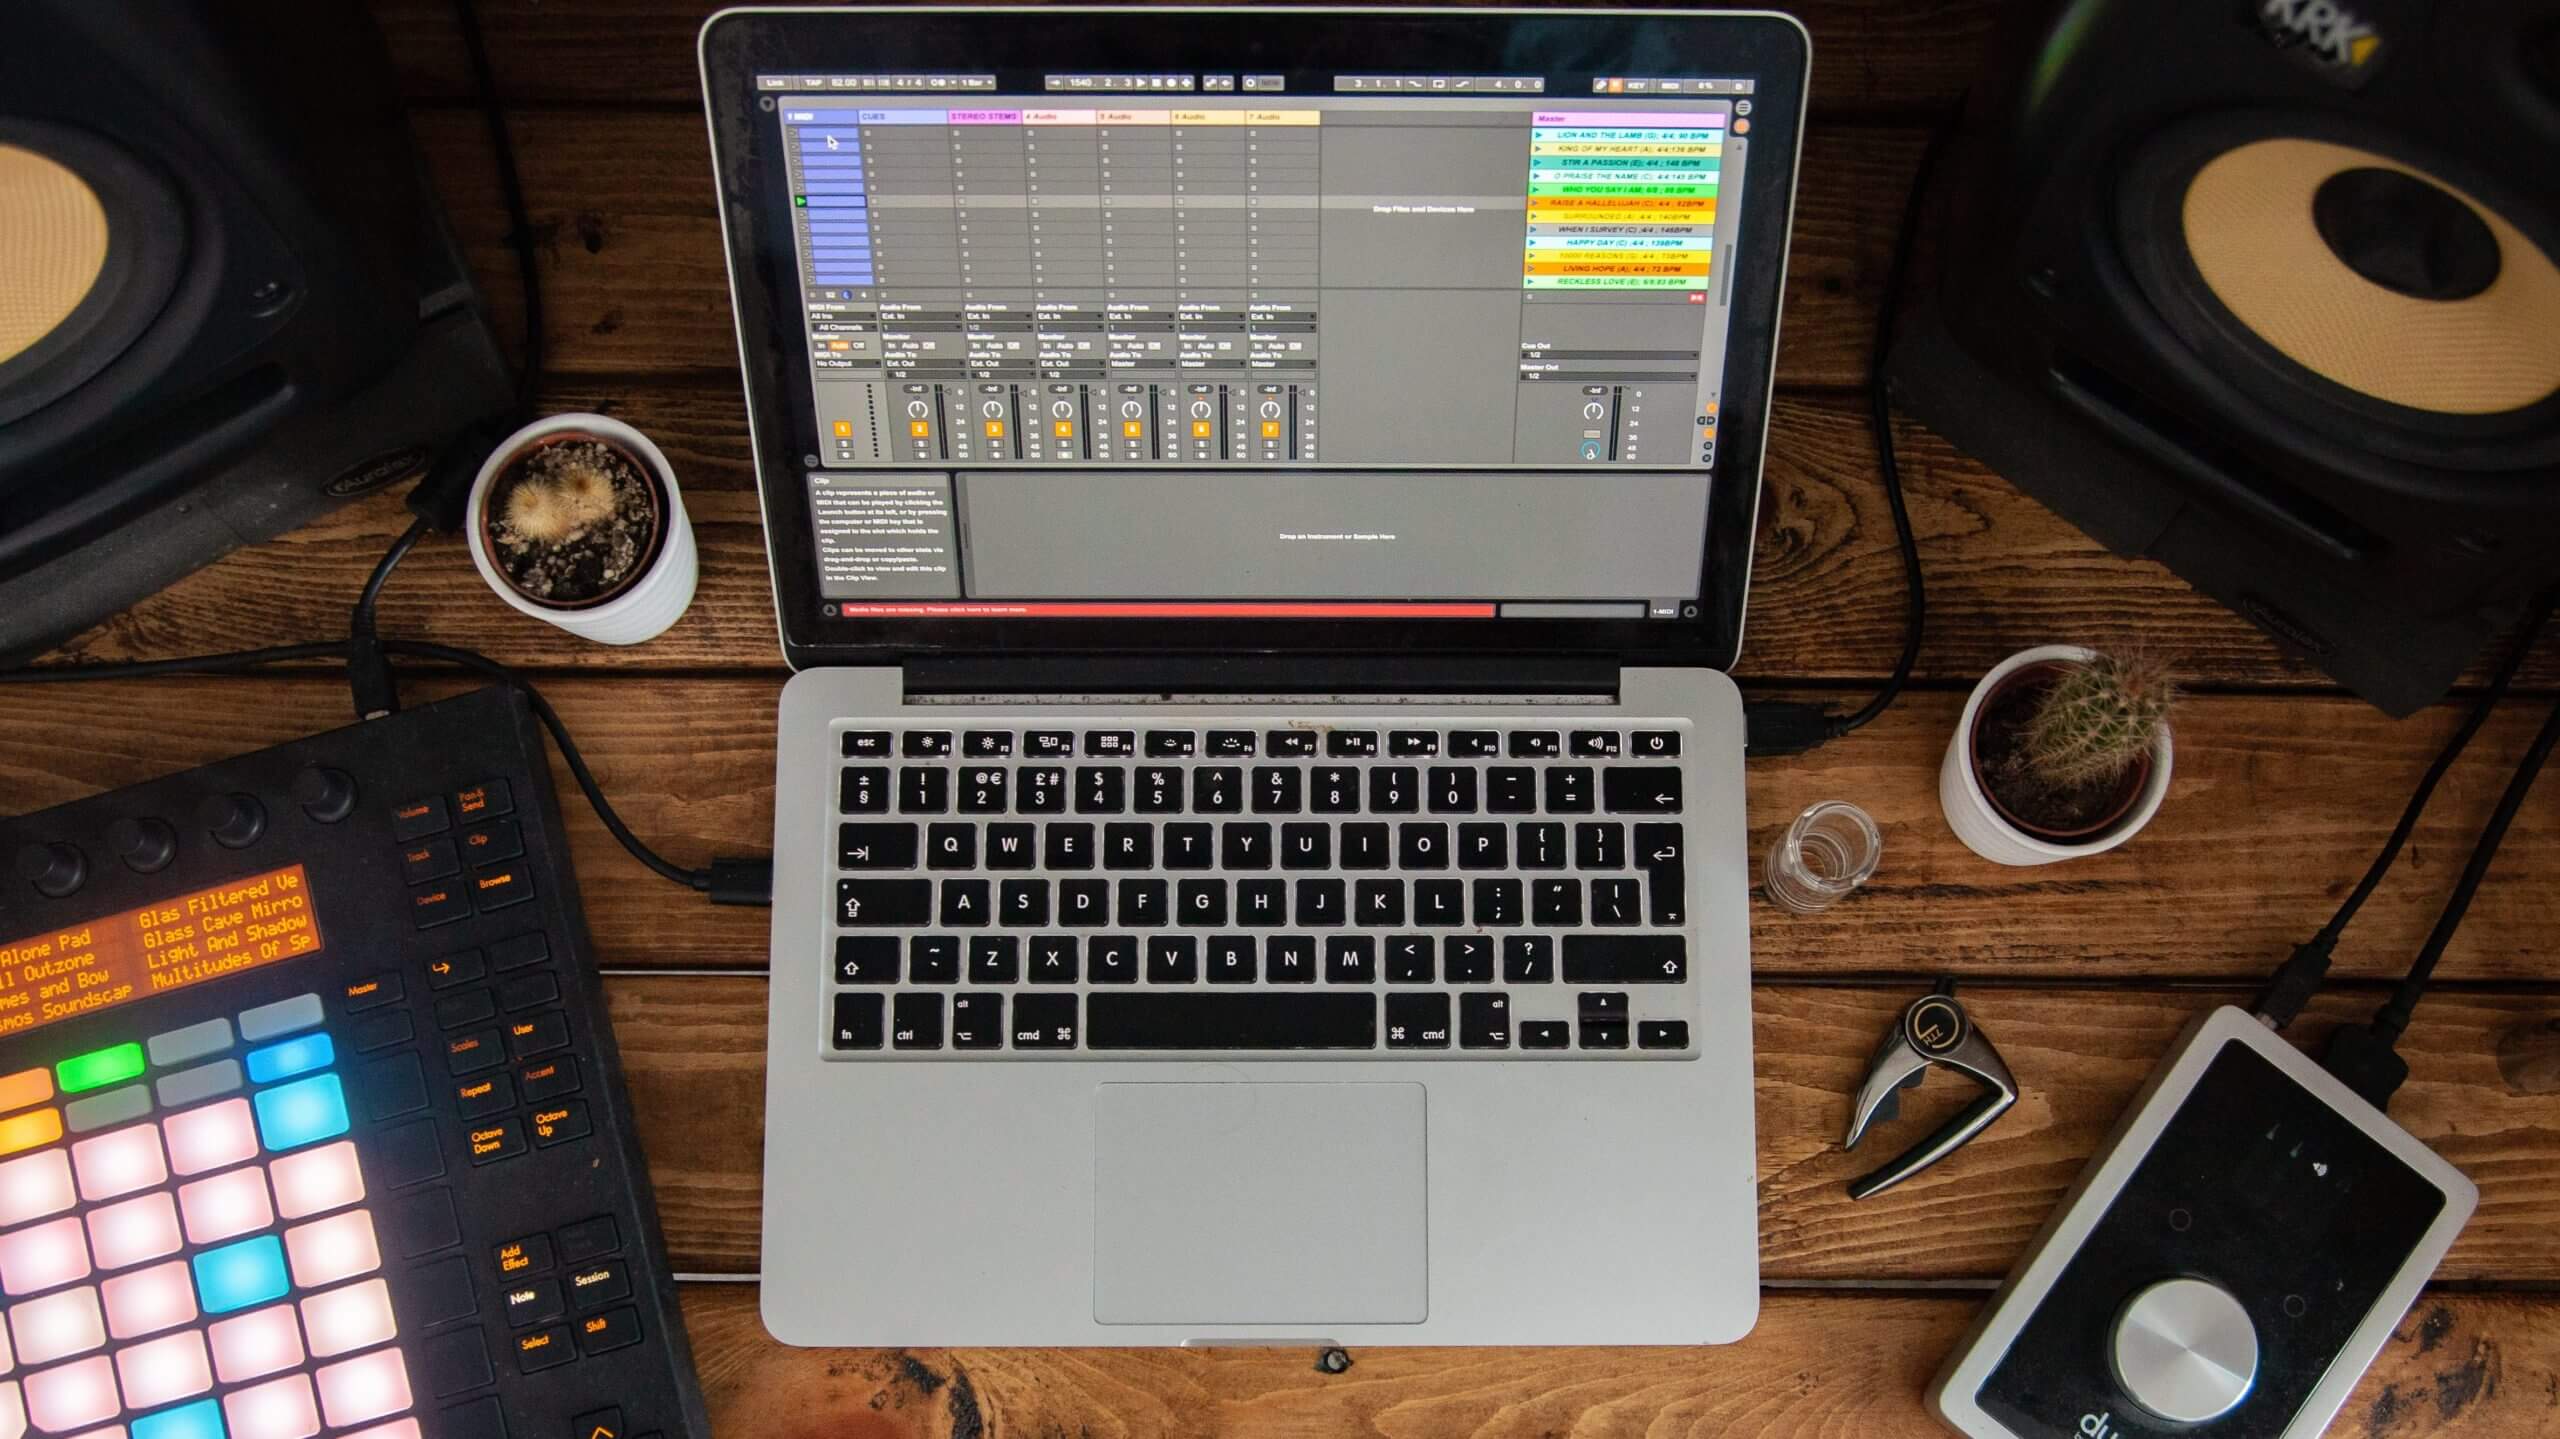
The most widely used and the easiest to operate sequencer with digital notes and controls. A producer uses a MIDI controller to trigger the notes in the sequencer. More about controllers down below.
The sequencer configures as a channel in a DAW. The DAW’s view window will show the MIDI notes spread out on a grid timeline.
Commonly referred to as the “piano roll window,” the sequencer shows the keys of a piano beginning on the timeline, which are visual cues of the notes & octaves.
Shift a note higher or lower; it changes pitch. Shift or edit a note left or right, and it changes time. A music producer can easily adjust one note or the entire track’s notes.
Virtual Instruments
A virtual sequencer will record midi notes onto a timeline, but that doesn’t give the notes a musical sound. You’ll need to apply a virtual instrument to the sequencer to turn the MIDI notes into music.
A virtual instrument is synonymous in music production with a “Plug-in.” The virtual instrument plugs into a digital track inside a DAW to change sound characteristics. Plug-ins span beyond virtual instruments, including EQs, reverb, gates, etc.
To apply a virtual instrument plug-in inside a DAW:
- Locate the “insert” section on the MIDI track/sequencer. (Usually found in the Mix window.)
- Click on an open insert slot, which will open a new window showing available plug-ins.
- Select the virtual instrument of your choice.
Many DAWs, like Logic and Abelton, will come with great plug-ins. Other DAWs, like Pro-Tools, don’t come with many virtual instruments.
There are troves of virtual instruments on the market. Producers pick specific plug-ins based on their musical style. Check out plug-ins by Native Instruments, as an example!
Rather than having one analog instrument, you can access 100’s of virtual instruments at one time. MIDI notes translate seamlessly to any virtual instrument.
Once you record an analog instrument, those musical notes can’t be changed. If you don’t like the sound, you have to re-record the notes with a different instrument.
Sound Modules for MIDI
If MIDI hardware is what you work with, then investing in a few sound modules is something you’ll need to do. Sound modules are a set of instruments coded into an external box. You’ll need to attach a MIDI controller or synthesizer to operate the sound module’s instruments.
A synthesizer has built-in sound modules. The difference is that a synthesizer is an all-in-one unit, with piano keys to trigger notes and speakers to play the composition. A sound module is bare bones.
Sound modules are useful because you can add lots of cool instruments to your workflow without adding clunky keyboards that fill up the room.
How to Use MIDI Made Easy
Now that we’ve covered most of the MIDI tools let’s highlight the MIDI set-up that many producers use to expedite the process. Using the same set-up will alleviate confusion and stress while improving your creative prowess.
MIDI Controller with DAW
The easiest, most effective MIDI setup is using a MIDI controller to operate virtual instruments in a DAW. The equipment and configuration are minimal. Here is what you’ll need to make it happen:
- MIDI Controller – Check out the Akai MPK Mini as a solution.
- USB cord – typically comes with the controller
- Computer – should have at least 4 GB of RAM, with 8 GB for optimal performance.
- DAW – We recommend trying Abelton Live Lite, which is free.
- Studio monitors or Headphones
Here’s a step by step process to make it work:
- Connect the MIDI controller to the computer via USB.
- Open the DAW and go to the ‘preferences’ window.
- Locate the ‘midi’ section and select the controller under the ‘control surface’ tab.
- Close the preferences window and add a MIDI track to your recording session.
- Find the ‘insert’ section on the MIDI track located in the Mix window.
- Click on an open insert tab and select any virtual instrument plug-in.
- Press a few keys on your controller to hear if the instrument is applied correctly.
- Click ‘record’ in the DAW to begin recording your MIDI notes.
Mixing MIDI
Here are a few MIDI features you’ll want to take advantage of to perfect your MIDI performance.
Quantization synchronizes notes to a rhythmic grid. Every beat shifts to a pre-set location on the sequencer’s grid. Quantizing notes helps make your music “onbeat.” During the performance, a producer might not hit a note at the right time. Quantization can clean up performance errors and perfect the rhythm.
Pitch correction automatically changes the pitch of notes that it recognizes as incorrect. Usually, pitch correction is straight forward to operate.
Automation allows a music producer to control virtual instrument parameters during performance. To do this, you’ll assign buttons and knobs on the MIDI controller to virtual instrument controls. This process is also called MIDI mapping. To do this, right-click on any virtual instrument parameter and select ‘learn MIDI CC’ Or ‘Map to MIDI’ (depending on your DAW). Toggle a knob or button on your controller.
MIDI Modes
There are several ways a DAW or device can interpret and respond to a MIDI signal. As previously mentioned, MIDI transports 16 channels of data in one stream. You can configure the device to allow all the channels or to allow only one channel to pass through.
The other option is to select a polyphonic or monophonic signal. A polyphonic signal plays several notes simultaneously. Monophonic plays only one note at one time. Typically, polyphonic is the standard mode.
Here is a breakdown of some of the MIDI modes you’ll run across:
- Omni On/Poly – Device responds to MIDI data regardless of channel, and is polyphonic.
- Omni On/Mono – Device responds to MIDI data regardless of channel, and is monophonic. This mode is rarely if ever used.
- Omni Off/Poly – Device responds to MIDI data only on one particular channel and is polyphonic. This is the normal mode for most keyboards.
- Omni Off/Mono – Device responds to MIDI data only on one particular channel and is monophonic.
For most intents and purposes, set the device to Omni Off/Poly.
Final Thoughts on Learning How To Use Midi
The concept of MIDI isn’t that tricky, but it can get gnarly connecting and operating all the gadgets. MIDI takes music production to a new level, and it will take your technical skills to new heights too. Don’t bite off more than you can chew.
Figure out which MIDI set-up works best for you.
Are you planning to perform live? Invest in hardware sequencers, synths, sound modules, and drum machines. This is the most technical way to work MIDI, but it has the most live performance power.
Do you want to do multi-track recording and music production? Get a MIDI controller, computer, DAW, and virtual instrument plug-ins. This will be the easiest method and provides phenomenal editing and creative tools. Octiive Blog has a fine article on free beat-making software here!
Purchase one device and learn it like the back of your hand.
Then, move onto the next MIDI device you want to integrate. Going out and buying a ton of gear will make your head spin. Take things a step at a time.
As always, we’d love to hear your feedback in the comments down below. We listen intently to our followers, so we know what content to dish out!
