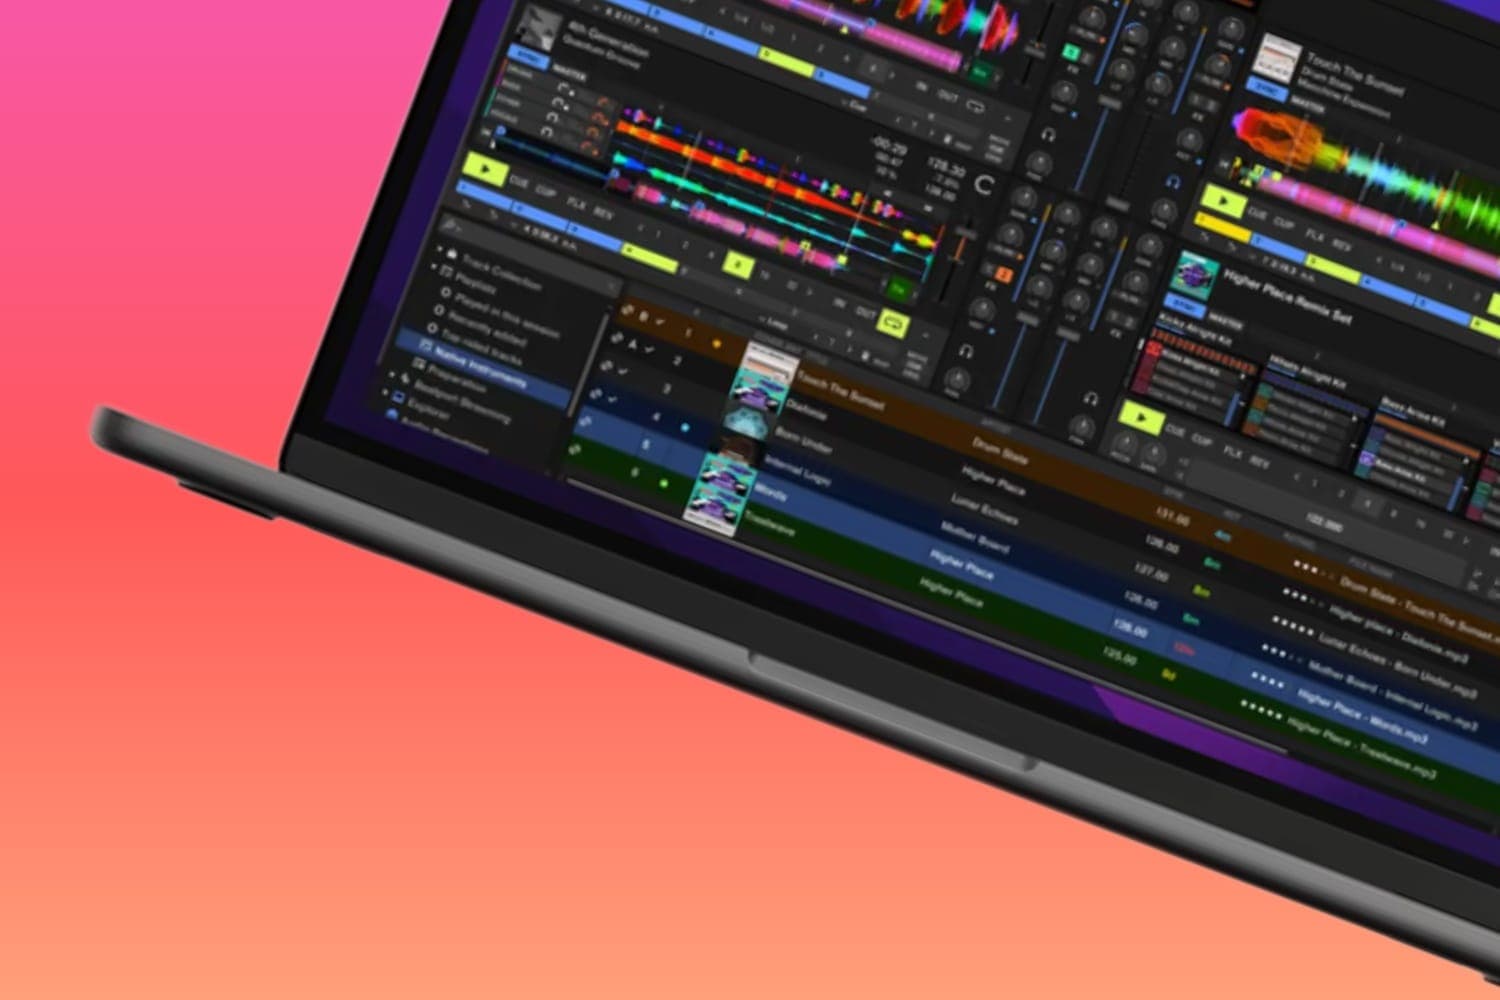
MIDI is a set of control messages, not audio: when you press a button or move a fader on a controller, it sends a message, and your DJ software or DAW decides which function or note that message triggers. To make a control do something else, or to add a second controller, map it in the software: MIDI assign mode in Serato DJ Pro, MIDI LEARN in rekordbox, or the Controller Manager in Traktor Pro.
What MIDI is
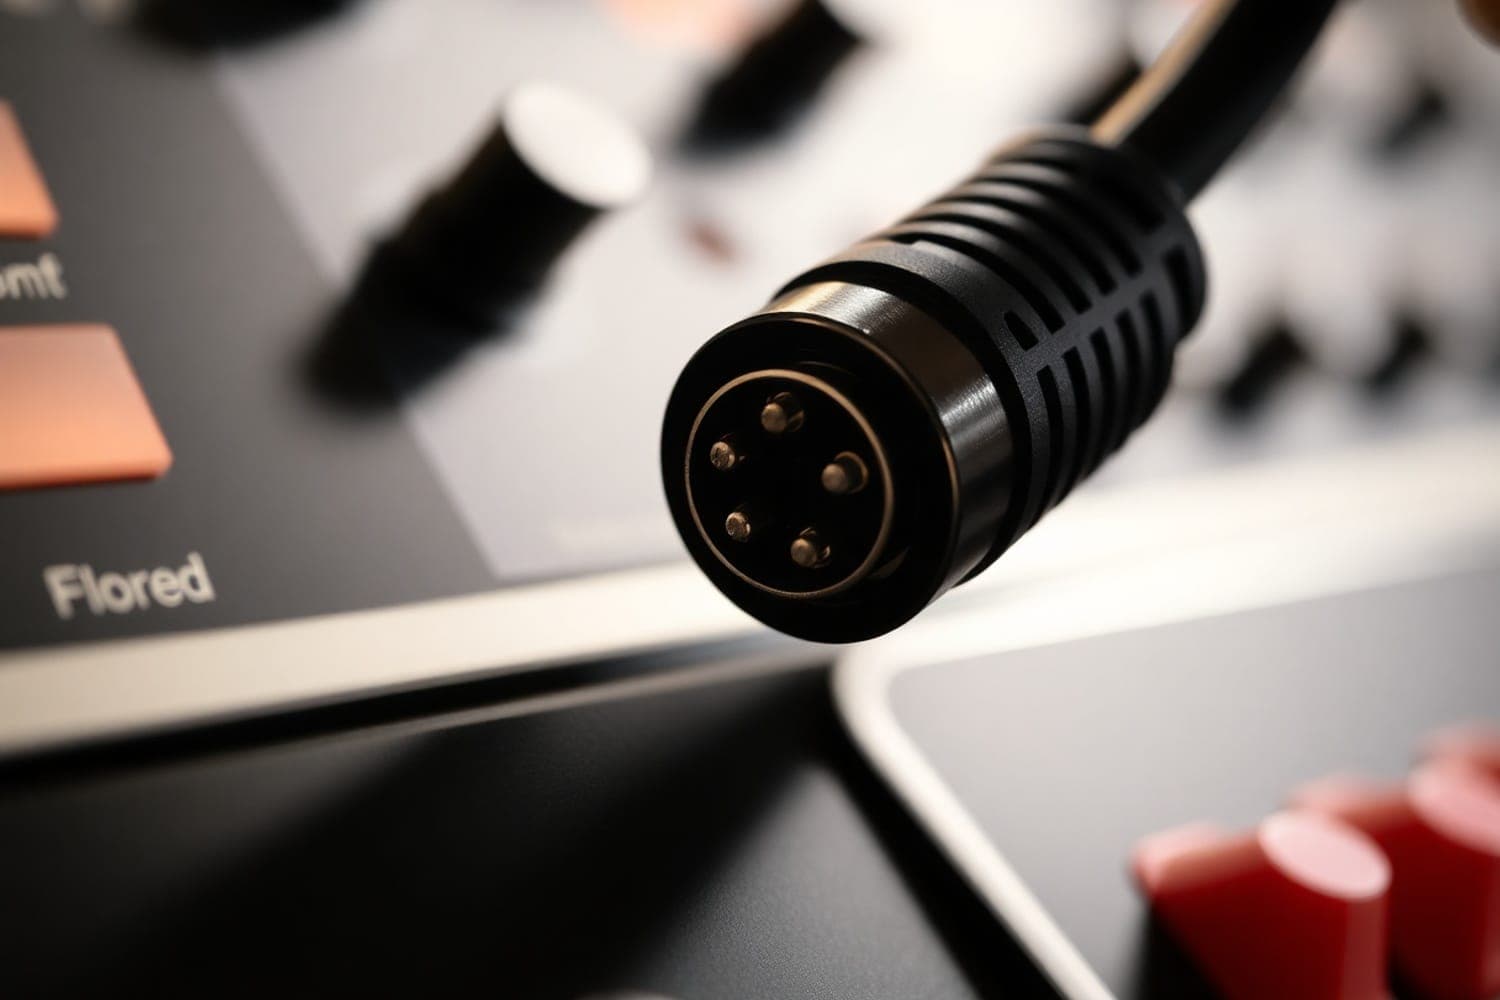
"MIDI is not audio," the MIDI Association's overview puts it: it carries performance instructions, like sheet music, and the device or software receiving them makes the sound or does the job. MIDI 1.0 was published in 1983 by several manufacturers working together, using cables with 5-pin DIN connectors. Today the same messages also travel over USB, which the MIDI Association says is much faster than 5-pin DIN, and over Bluetooth.
The messages that matter for DJs and producers, from the MIDI Association's summary of MIDI 1.0 messages:
| Message | Sent when | Typical use |
|---|---|---|
| Note On / Note Off | A key or pad is pressed or released, with a velocity for how hard | Playing an instrument from keys or pads |
| Control Change | A controller's value changes | Knobs, faders and pedals, as a value from 0 to 127 |
| Pitch Bend | A pitch wheel or lever moves | Pitch wheels, with finer 14-bit resolution |
| Program Change | The sound or patch changes | Switching presets on synths |
| Timing Clock, Start, Stop | Synchronisation is needed | Keeping drum machines and sequencers in time; the clock is sent 24 times per quarter note |
Each note and control message carries a channel number from 1 to 16, so one connection can address up to 16 instruments or parts.
How a DJ controller uses MIDI
Every button, knob and fader on a controller sends its own message, and a mapping in the software says which function each message triggers. A controller made for a program arrives with that mapping already in place, so you only touch it to change what a control does, to add a second controller, or to use a generic MIDI device such as a pad controller.
Not every controller speaks only MIDI. rekordbox describes connected DJ equipment as communicating "by USB control (MIDI or HID)", per its manual; HID is a different protocol that some hardware uses alongside or instead of MIDI.
Map controls in Serato DJ Pro
From Serato's MIDI mapping guide:
- Remapping your main hardware? Open SETUP, go to the MIDI tab, click the device in the MIDI Devices list and tick Allow Serato Hardware Remapping. A second, generic MIDI controller can be mapped without this step.
- Create a preset first. In the same tab, click New before you start, then Save when you finish; clicking New later wipes the current settings, and unsaved mappings are cleared when the software closes.
- Enter MIDI assign mode. Close SETUP and click the MIDI button near the top left of the main window.
- Click a function, then move the control. Click a Serato DJ Pro function on screen, then press, turn or move the control on your hardware. The assign box turns blue when it works; press Enter while it shows to undo.
- Match the type. Map a button to a button, a knob to a knob and a fader to a fader, because dials and faders send a different kind of signal from buttons.
One control can carry several functions: when you map a control that already has one, press A to add the new function or O to overwrite. Holding Shift while clicking a function adds a second control to it. Serato notes that jog wheels and platters, input switches, Shift buttons and performance pad mode buttons can't be remapped. To go back to the factory mapping, untick Allow Serato Hardware Remapping or click Restore Defaults, which resets every connected device.
Map controls in rekordbox
rekordbox calls it MIDI LEARN, and it works in Performance mode with equipment connected over USB, per AlphaTheta's MIDI LEARN Operation Guide:
- Connect the controller by USB, open rekordbox and select PERFORMANCE mode.
- Click the MIDI button at the top right of the screen, next to the Preferences icon, to open the MIDI setting window. If more than one device is connected, choose one from the menu at the top.
- Pick a tab for the kind of function, click ADD and choose the function; use DUPLICATE to add the same function for another deck.
- Select the function's row, turn on LEARN, and press or move the control. Its MIDI code appears in the MIDI IN column.
- Close the window to save. Use EXPORT to keep a copy, IMPORT to load one, and DEFAULT to reset the device.
One MIDI code can't be assigned to more than one function. AlphaTheta says MIDI LEARN is meant for its own products and doesn't support setting up third-party ones, so a controller from another brand may work but isn't covered. The rekordbox explainer covers the software's plans.
Map controls in Traktor Pro
From Native Instruments' Traktor Pro manual:
- Open Preferences > Controller Manager.
- Under Device Setup, click Add... and choose Generic MIDI.
- Set In-Port and Out-Port to your controller's MIDI port; both start at All, which can cause unintended behaviour.
- Click Add In... below the Assignment Table and choose the function, such as Track Deck > Keylock On.
- Click Learn and press or turn the control. Tick Override factory map if the control should lose its original function; otherwise it triggers both.
- Click Learn again when you finish, so later movements don't create unwanted assignments.
Learn doesn't work for outputs such as LEDs; those use Add Out... and the Assignment menu. Getting started with Traktor covers the rest of the setup.
Use a MIDI keyboard or pad controller in a DAW
A MIDI keyboard makes no sound on its own: it sends notes to a DAW, where an instrument on a MIDI track plays them, and its knobs and faders can be mapped like a DJ controller's. In Ableton Live, per the Live manual:
- Open Settings > Link, Tempo & MIDI and choose your controller in a Control Surface menu, then set its input and output ports. If it isn't listed, turn on Remote for its input port in the MIDI Ports table instead.
- To map a control, press the MIDI switch at the top right of Live's window to enter MIDI Map Mode; mappable controls turn blue.
- Click the Live parameter, move the hardware control, then press the MIDI switch again to leave.
A key mapped to a control stops sending notes to the instrument. The best beginner keyboards covers MIDI keyboards for a DAW, and the best drum machines covers hardware drum machines.
Keep DJ software in time with other gear
Drum machines and sequencers can follow MIDI Timing Clock, with Start and Stop messages, over a MIDI or USB connection. rekordbox also supports Ableton Link, which syncs the BPM with supported equipment and apps on the same local network without a cable between them: click LINK in the global section to turn it on, per the rekordbox 7 manual.
How this page is made
The definition and message types come from the MIDI Association's pages on MIDI and MIDI 1.0. The mapping steps come from Serato's support article on MIDI mapping, AlphaTheta's MIDI LEARN Operation Guide and rekordbox 7 manual, Native Instruments' Traktor Pro manual and Ableton's Live 12 manual, all read on 14 October 2026 and linked where they are used. Menu names follow the current software and can change between versions. The earlier version of this page was about music production, with claims about MIDI's sound, mode settings and computer requirements that had no source; those are gone, and the site's old pages on MIDI mapping and MIDI keyboard controllers now point here. The methodology explains how the site works.