


Every hard-hitting rhythm needs the right drum track to make it a real banger. Before you start sorting through premade drum loops…
Stop, Collaborate, and Listen – We’re back with a brand-new addition.
We’re serving up a comprehensive tutorial to guide you through how to make a drum beat from scratch! Being able to create unique drum tracks is what separates the boys/girls from the men/women in the music industry.
Follow along as we guide you every step of the way.
Terminology
We’re going to throw a tremendous amount of musical vocabulary at you. It’s essential to understand the music terminology behind how to make a drum beat before we begin:
DAW – A digital Audio Workstation is music production software used for recording and mixing audio to create music.
Plug-in – A piece of software that integrates into the DAW. Typically, they are inserted into an audio channel but can be applied to the entire mix. Types of plugins are VST, AUs, & RTAS.
Reverb – A slight amount of echo applied to instruments. Gives additional sound character and makes them stand out in the mix.
Panning – humans hear in two-channel stereo with two ears, one for left and one for right. Music mimics this by having a left and right audio image. In audio production, where an audio element sits in the stereo audio imaging is known as ‘panning.’
Moving an audio element around in the stereo image is referred to as ‘pan.’ ‘For example, pan the snare hit in the center.
EQ – an Equalizer is a plugin that manipulates the character of the sound. Low frequency, or bass, is 40 Hz to about 500 Hz – mid frequencies range from 500 Hz to 2,000 Hz – high frequency, or treble, is from 2,000 Hz to 20,000 Hz.
Velocity – The speed at which a note begins. In music production, changing the velocity will change the sound’s amplitude.
Decay – The amount of time it takes for a sound to fade to 0 amplitude.
Tempo – The speed of the song, usually calculated in BPM (beats per minute.)
Measure – a divisible increment of time in a song.
Time Signature – how many beats there are in a measure.
Sample – One isolated sound. I.e., a drum sound, like a kick drum or snare hit, is a drum sample.
Analog Sequencer – An external device that accesses, controls & layers sounds on top of each other to create melodies.
MIDI/Digital Sequencer – a software track inside a DAW that displays and layers digital notes to create melodies.
Step Sequencer – Rather than having sounds & notes spread out on a timeline, step sequencers assign notes in specific increments of time. They come in both analog and digital varieties.
Analog step sequencers have physical pads, while digital step sequencers have digital buttons. They typically have 16 steps but can have more or less depending on the model and settings.
Piano Roll Window – the Midi sequencer window that allows you to lay notes & sounds manually.
Analog Sampler – An external device that contains & operates instrument sounds to create melodies.
Digital Sampler – A piece of software that integrates into a DAW that contains & operates a collection of sounds.
Drum Rack – An audio track or plugin of the DAW that has sub-layers for each drum element. A drum rack is a type of digital sequencer. They are also referred to as a Drum machine.
Drum Kit – A collection of digital drum sounds. They can be loaded into a drum rack or virtual instrument. Each drum kit is a compilation of drum sounds from an analog drum kit—I.e. kicks, snares, high-hats, toms, etc.
Virtual instrument – a plugin that contains all of an instrument’s musical notes. They’re most commonly synthesizers, pads, and pianos, but some are drum instruments.Click Track/metronome – An audio track in the DAW that omits a sound on every beat to keep the timing of all the audio elements in-time or on the beat. Artists describe it’s sound like a ‘click.’
Different Ways to Make a Drum Beat
There are two main ways to make a drum beat using these two tools…
Analog Sequencer and Sampler
This option is ideal for live performances or people that already have analog musical devices.
An analog sequencer will have a built-in bank of drum samples or will connect to an analog drum sampler. Toggling through the banks of drum samples is usually simple. The sequencer will have a procession of pads used to trigger different drum sounds at the desired time interval.
The sequencer will play each drum sound a step at a time. Typical sequencers have 16 steps. So, you can build a complete drumbeat in 16-time segments. Sequencers will have multiple channels to layer sounds on top of each other. For example, one channel will have the kick sound, and another channel will have the snare hits.
DAW, Drum Rack, and Step Sequencer
This option sets free your musical creativity, simplifies the process, and grants you access to all the creative tools for making a custom drumbeat.
Most DAWs already have preloaded drum samples to use for the drumbeat process and can use unlimited amounts of drum kits and virtual instruments. DAWs usually support both drum racks and samplers, and some include step sequencers to make the process even more comfortable.
The visual nature of the DAW and step sequencer makes it a snap to lay and edit notes around in your drum pattern. The additional plugins, like EQs, distortion, gate, & delay, can alter and tweak drum elements to hone and perfect the drum rhythm.
For this article, we’re going to strictly cover how to make a drumbeat with a DAW and a Digital Step Sequencer.
Native DAW Samples vs Downloading Extra Samples
Most DAWS have a decent amount of drum kits and virtual instruments to work with initially. If you are creating your first drumbeat from scratch, you should stick with the DAW samples.
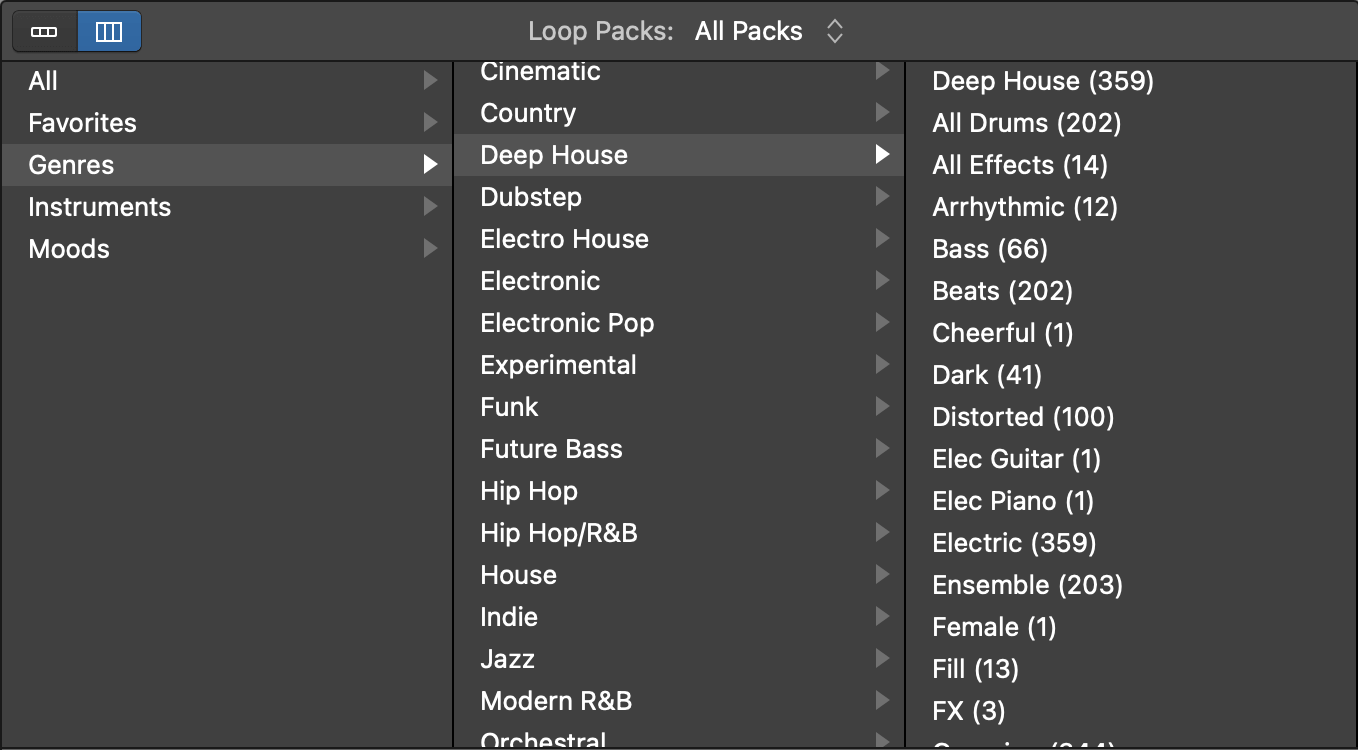
Hunting down extra drum kits or virtual instruments might be necessary to create a specific genre of music. For example installing an 808-drum kit is great for hip-hop and rap.
The same thing goes for dub-step, house, or any other eclectic genre of music. If you are on the hunt for extra drum samples, check out music gateway for a trove of free downloads!
Virtual Instruments vs Drum Racks
Virtual Instruments have great drum sounds and a variety of drum kits to choose from, but ‘normally’ you can’t change just one drum sound in a kit – you have to change the entire kit.
So, if you don’t like a snare or kick sound in one kit, you have to change the kit altogether. There is a workaround, you can lay each sound as an individual track to create a custom drumbeat from multiple drum kits. This process is time-consuming and requires more mixing work.
There are virtual instruments you can download, which have breathtaking drum sampling features. They are the exception and not the rule. Check out the Perfect Drums Plugin, as an example.
Most virtual instruments lack a step sequencer to program the notes quickly. You’ll have to use a MIDI controller or pencil the notes into the piano roll window manually to create the drumbeat. Virtual instruments are best for music producers that have experience working with MIDI notes.
Drum Racks can change each drum sample, without changing the entire kit. They can also apply additional parameters, like EQ and compression, to each sample. Drum racks typically have step sequencers that make laying and timing the drum hits simple.
Bottom line – Drum racks are easier to operate and give you more adjustments for the mix.
An Overview of Each DAW
There’s many DAWs to choose from. All of them can help you create a drumbeat from scratch, but some of them are easier to operate. Here is a list, and a quick run-through on making a drumbeat with each, from the simplest to the most difficult DAWs:
- How To Make a Drum Beat in Fruity Loops
Creating a drumbeat in fruity loops is almost a cinch. Most industry professionals scoff at FL because it has so many processes streamlined. That doesn’t mean the production value is amateur—the beats created in FL BUMP!
There’s a step sequencer built-in with FL Studio. Once you open a new session in FL, you should see the Studio Pattern Sequencer appear automatically. The sequencer shows four basic, pre-set sounds for drums: kick, clap, hat, and snare.
You can change them how you see fit. You can drag and drop different drum samples right onto the Studio Pattern Sequencer to activate new sequences. Select sequence buttons on each drum sound to lay the drumbeat. - How To Make a Drum Beat in Reason
An incredible DAW for creating and mixing MIDI. Reason has a vast selection of digital instruments. It’s a bit tricky to configure and route all the digital devices through the rack space.
Reason was super popular a decade ago amongst electronic artists but has lost some ground in the industry because of other DAWs that record analog instruments, like Logic and Abelton Live, stepped up their MIDI capabilities. It’s still got all the ingredients for excellent beat making.
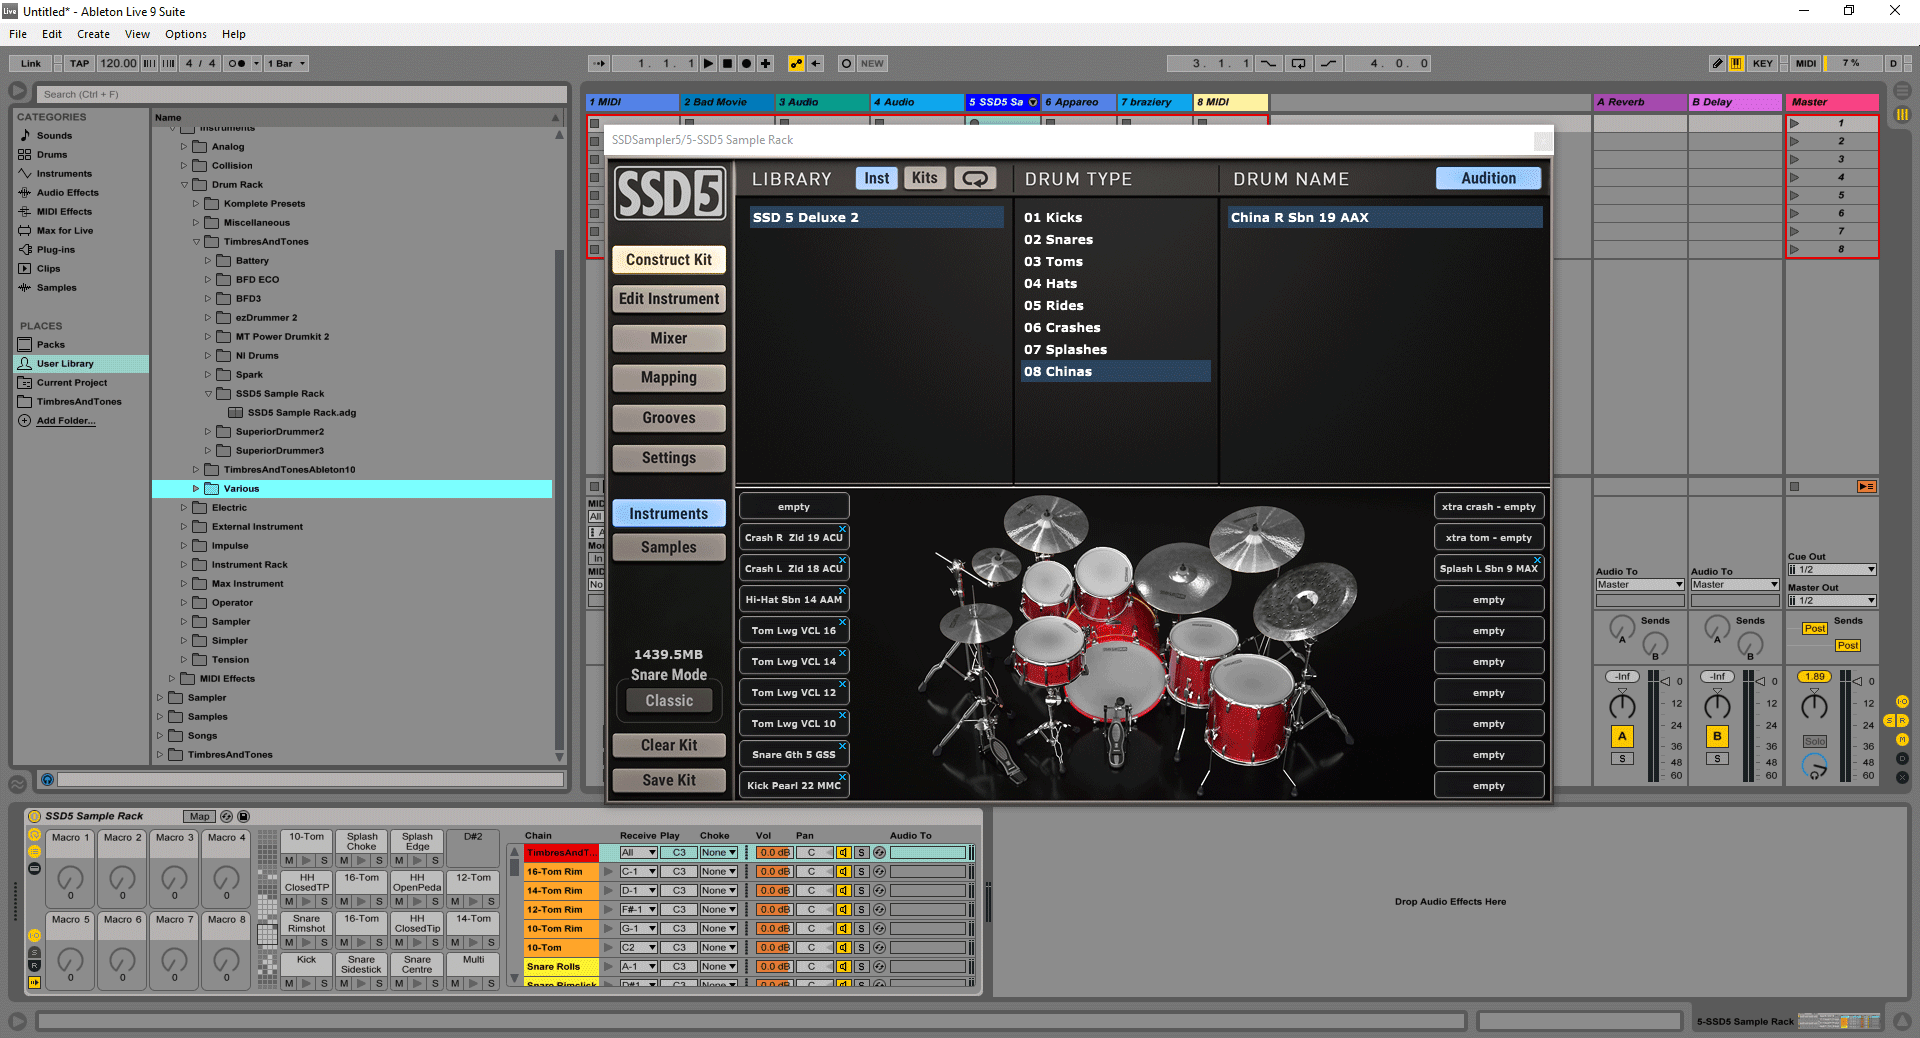
To make a drumbeat from scratch in Reason, you’ll want to use the Redrum drum rack. On any blank rack space, right-click to add the Mixer 14:2, and then right-click again to add the Redrum Drum Machine.
The first thing you’ll do is load a drum kit located in the bottom right corner of the Redrum window. Redrum has 10 different channels so that you can compose a drumbeat with 10 different drum samples. Each channel has additional parameters to tweak the sound of each sample.
The samples will automatically load in each channel, once you select a kit. You can load a different sample into each channel if you prefer to choose custom drum sounds.
You’ll see the step sequencer at the bottom of the Redrum Window. Click the ‘select’ button on each channel to program each sample with the step sequencer.
Highlight each channel, select varying steps in the step sequencer for each sample, and wallah! A drumbeat made from scratch. The Redrum can save a fully programmed drumbeat as a pattern, with 8 pattern slots.
That means you can program 8 custom drumbeats to playback during your mix. The patterns are useful for breaks, buildups, or any other place in the song that you want to drop a different drumbeat. - How To Make a Drum Beat in Logic Pro X
Logic is a favorite amongst many music producers. The only downside; it’s supported only on MAC and not PCs. So, if you have a MAC computer, you’re in luck.
There are a few native drum rack plugins in Logic Pro that you can use. Drum Machine Designer is a great one, but it doesn’t include a step sequencer, so you have to lay each sample manually in the MIDI sequencer. If you are a drumbeat making pro, feel free to use this plugin.
We recommend using the Ultrabeat plugin to lay drum samples effortlessly. Once you insert Ultrabeat onto a track, the plugin window will show up. On the right-hand side of the Ultrabeat window, there is a list of all the samples preloaded.
You can locate a new sample and drag and drop it onto an Ultrabeat sample channel if you don’t like the stock samples Logic Pro pre-selected.
The Ultrabeat’s step sequencer is located at the bottom of the window. Click on each sample and select the desired sequencer buttons to lay the drum hits. Do this for each sample in your drumbeat. You can then drag and drop the pattern onto a track, or keep the drumbeat playing through the sequencer throughout the melody. - How To Make a Drum Beat in Ableton Live
The top dog DAW in the audio industry right now for beat creation. Abelton Live is popular because it comes stock with a ton of incredible samples, kits, and phenomenal plugins. To create masterful songs, artists don’t need to spend hours searching for new samples or spend more cash on plugins to improve their mixing.
Both studio and live artists love Abelton Live. It’s not called ‘live’ for anything. Each track has a series of built-in clips that you can program to play in unison or select individually throughout the mix – useful in live performances or recording. There will be a completely different tutorial on Abelton Live looping. Watch out for it!
To begin creating a custom drumbeat in Ableton, you’ll want to create a new MIDI track in the session. Search for the ‘Drum Rack’ plugin and drag and drop it on your MIDI track. You’ll see the Drum Rack appear at the bottom of the screen, with empty cells for each drum sample.
In the search bar, find the drum sounds. Locate all the samples you want to use. Drag and drop them into empty cells of the drum rack.
Once you’ve loaded all the drum samples in the drum rack, go up to the MIDI track and double click on an empty clip, which will bring up the sequencer window. Each drum part will appear as a separate line in the sequencer.
Click the preview button, the headphone icon, above the drum parts in the sequencer window to preview all the sounds.
Abelton does not have a step sequencer, so you’ll have to pencil in each note or lay them with a MIDI controller. Pencil in the notes as you fit.
Setting Up Your Drum Beat Session: The KISS Method
Ever heard of the KISS method? It’s short for ‘Keep it Simple Stupid.’ We’re not calling you dumb, but this playfully articulates the idea that beginners should start something simple before moving onto advanced techniques. So, here is the simplistic way to configure your drumbeat to begin conquering the process:
Keep the tempo at 100 BPM. It’ll be challenging to lay the drumbeat if the tempo is too fast or too quick. You can time adjust a completed drumbeat afterward.
- Keep the tempo at 100 BPM – It’ll be challenging to lay the drumbeat if the tempo is too fast or too quick. You can time adjust a completed drumbeat afterward.
- Set the time signature to 4/4 – Four quarter note beats per measure will make things easy. It’s also the most common time signature in music.
- Add a Click Track – A click track will help you keep the beats on time. It also clicks to every beat so that you can lay the drum hits on the right beats.
The Drumbeat and What to Start With
A drumbeat can have several different sounds, but less is more for many genres. A lot of electronic music and hip hop only use 3 or 4 drum sounds. Here are the ones you’ll want to use, along with some mixing techniques:
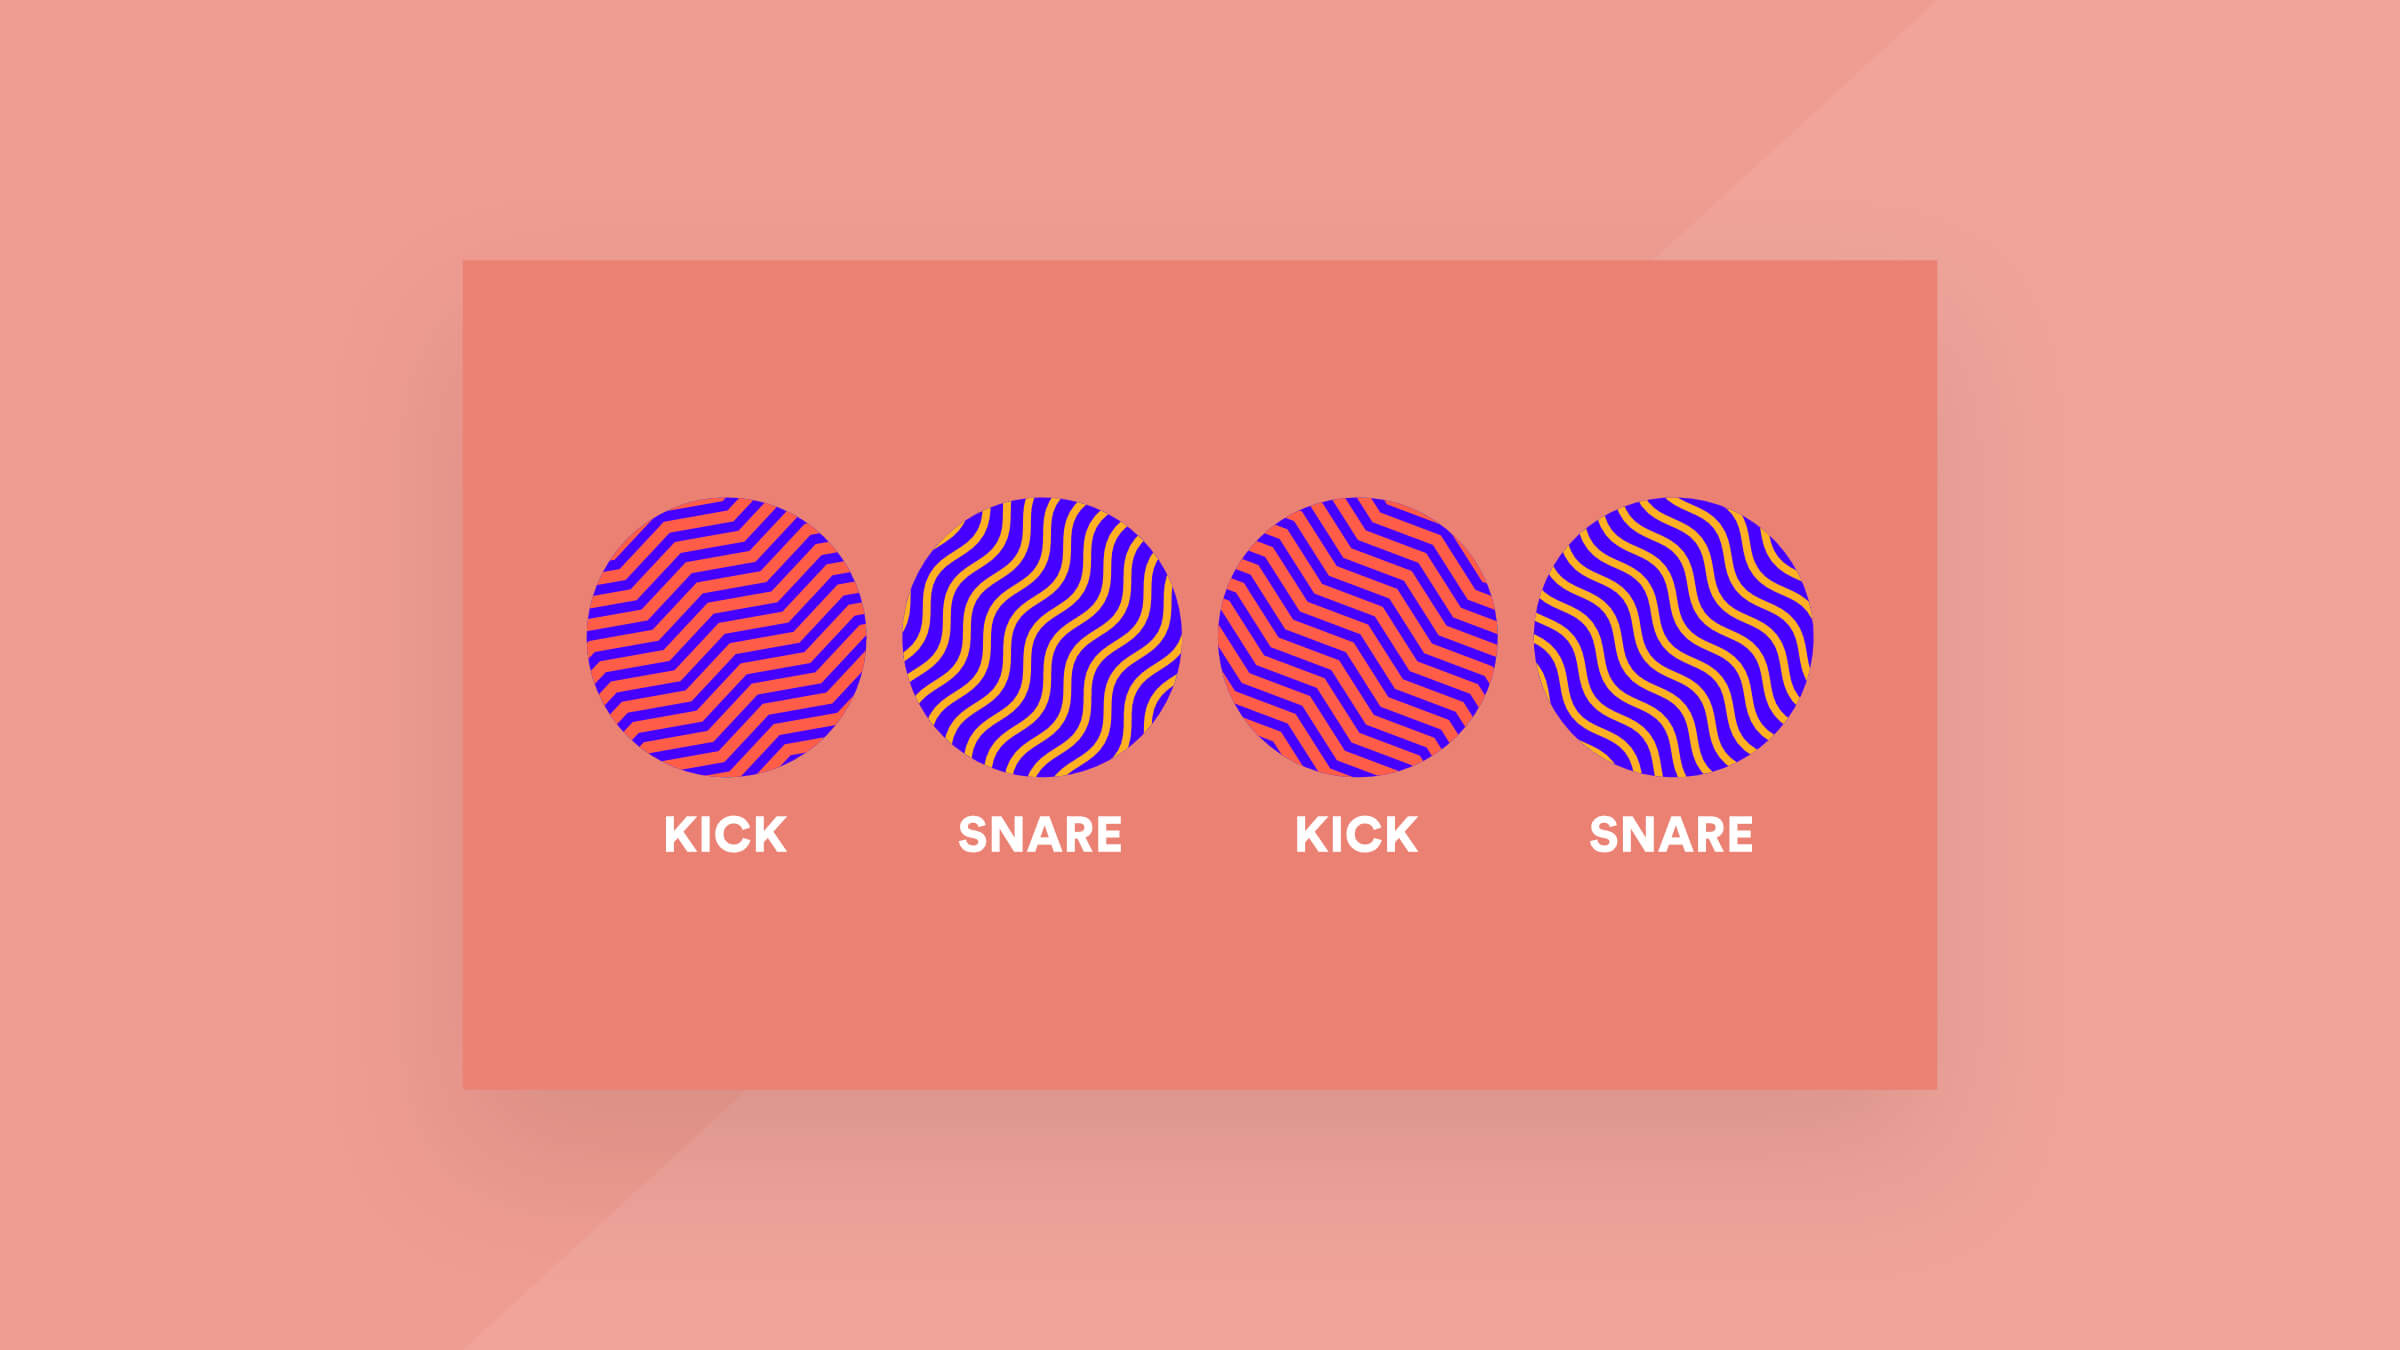
Kick
The kick drum is the main bass sound in a drum kick.
- usually hits on the first beat of every 4/4 measure
- Panned center
- Equal Amplitude as the Snare
- Boost the EQ at 100 Hz to accentuate the sound, cut all frequencies after 400 Hz
- Set the velocity to fast
- Set to a long decay
Snare
The snare is the sharp sound that opposes the kick drum.
- It usually hits on the 3rd beat of every 4/4 measure
- Panned center
- Equal amplitude as the snare
- Add a slight amount of reverb to make the snare pop
- Cut the EQ from 40 Hz to 200 Hz, so it doesn’t interfere with the kick drum
- Bump the EQ up a little bit in the mid-range, around 550 Hz to 1000 Hz depending on the Snare sound
- Set the velocity to fast
- Set to a long decay
High-Hat
The high-hat is a high-pitched cymbal drum.
- It can hit on every beat of a measure or staggered to every other beat
- Panned left or right in the mix, depending on your preference
- Lower amplitude than the snare and kick
- EQ the low end out, with a slight dip in the mid-range
- Set the velocity to 3/4 of the way
- Set to a short decay
Clap
mimics the sound of hands clapping together.
- They can be played on the same beat as the snare, or layered sporadically on other beats to add flavor to the drumbeat
- Panned slightly left or right in the mix, depending on your preference
- Lower amplitude than the snare or kick
- EQ the Low end and high end out, while leaving the mid-range
- Add a slight amount of reverb
- Set the velocity to 50%
- Set to a medium decay
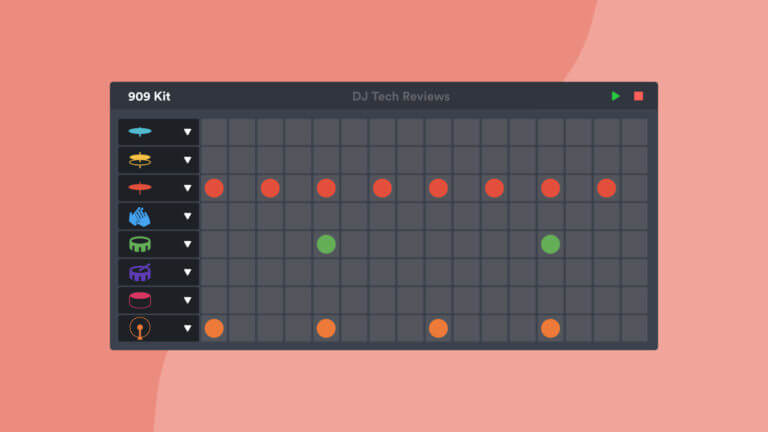
Programming Your First Drumbeat into a Step Sequencer

A 16-step sequencer encompasses 1 measure. Here’s an easy way to start programming your drumbeat with the step sequencer:
- Lay the kick drum on the 1st, 5th, 9th, and 13th step.
- Lay the snare drum on the 3rd, 7th, 11th, and 15th step.
- Depending on the genre, lay the high hat on every step, or alternate the steps (2nd, 4th, 6th, 8th, etc.)
- Lay the clap on every other measure. Use your ears to find the right step. Try out the 7th or 8th step and see how it sounds.
The step sequencer pattern is going to change based on the part of the song, genre, or artist’s tastes. This should get you going though.
Alternating Pulsing Rhythm with Syncopation
A pulsating drumbeat is a rhythm that keeps a standard time with the beat. For example, the kick drum hits on the 1st beat of a 4/4 measure, and the snare hits on the 3rd beat of a 4/4 measure.
Great music alternates the pulsing rhythm every few measures. The alternating beat is known as syncopation. To make your music pleasing, displace a few notes off of the regular pulsing rhythm.
In your drum rhythm, make a loop of 4 measures. The first three measures will follow the song’s typical pulsing rhythm. Syncopate the notes of the fourth measure. Try changing the kick drum to the 1st, 3rd, & and 4th beat and the snare drum on the 2nd beat of the measure.
You’ll have to use your ears and figure out when and where the beats need to syncopate depending on your song. The whole point of creating a custom drumbeat is to make it unique. Syncopation is the process of individualizing the drum pattern.
Customizing Your Drumbeat
Now that you’ve got the general idea on how to create a drumbeat, start playing around with laying drums with a melody. The drumbeat is going to change based on the genre. So, build the drumbeat around the main synth. Here are some tips for making the drumbeat unique:
- Try out different drum samples & kits
- Adjust the syncopation of the notes throughout the drumbeat
- Adjust parameters of the drum rack or plugin
- Shift the pitch of drum notes
- Chop samples up to create rolls
- Experiment by layering drum sounds
Final Thoughts on How to Make a Drumbeat from Scratch
Making a drumbeat from scratch will set you apart in the sea of music producers. It’s not an easily crafted skill, but we’ve laid out a no-frills tutorial on how to do it. Using a step sequencer is the best way to start. Once you’ve got the step sequencer down pat, you can move onto more complex mechanisms.
Just like with anything, the more you do it, the better & easier it gets. Your first drumbeat is going to be basic. Build on top of that. Start with a simple 4/4 time beat with kick, snare, high-hats, and claps. After that, change the complexity of the drumbeat.
Listen to some of your favorite beats intently to learn the drum pattern. Count the beats and time signature. Notice where their drum hits land and try and mimic the style, to shape your brand.
As always, give us your thoughts about this article on how to make a drumbeat from scratch in the comments down below. Every music producer has their way to go about making a drumbeat from scratch. Share your method with the community! You might learn a new technique through the process.
