


Learning to scratch ain’t easy. I’m not trying to be a Debbie Downer – just keeping it 100% real with you.
It might look like a simple technique, but learning to scratch may be the most difficult undertaking of your DJ career to learn. With all the automation and digital tools nowadays, some DJs decide to skip scratching altogether.
It’s a huge mistake to miss out on learning to scratch as a DJ. Learning to scratch is a foundational skill of the craft. Take courage; with enough practice, you’ll get the hang of it! When you become scratch-worthy, you’ll feel like you’ve attained a superpower.
Whether you are completely new to scratching or struggling to perfect your technique, this learning to scratch beginner’s guide will give you a thorough step-by-step process with countless tips and tricks so you start scratching like the best DJs in the business!
What we will be covering in this Learning to Scratch guide:
- What is scratching?
- Best player to learn scratching on
- How to use the crossfader
- Choosing the right samples
- How to operate the jog wheel
- Putting it all together
What is Scratching?

The word scratching comes from the world of old-school record players & radio music programs. It’s the sound and sensation of the vinyl disc forcible rubbing back and forth against the turntable needle.
It was originally known as “back-cueing” because radio disc jockeys in the 1940s would push the record back to the very start of a song for gapless playback. Back cueing occurred in the DJ’s headphones before cueing the song live in the mix.
The phenomenon later solidified itself as scratching as musical vernacular in later generations as a creative tool in mixing. At the beginning of the 1970s, turntables integrated direct-drive motors so DJs could scratch vinyl without breaking the turntable.
DJs began to use this new equipment to create percussive sounds and effects to enrich their performances. Scratching first became popular amongst club DJs and hip hop musicians but is now widely used in many genres.
Scratching no longer requires an analog needle for DJ scratching – disc jockeys have the versatility to scratch on either vinyl records or digital players in the modern era. There is an array of scratching tactics, like crab scratch, orbit scratch, tweak scratch, flare scratch, and beyond.
For this tutorial, we will be covering the baby scratch technique, which is the easiest, most fundamental method of scratching. Once, you learn baby scratching, you can build up to more advanced scratching.
What is ‘baby Scratching’?
The simplest form of DJ scratching in which the DJ moves the vinyl disc or jog wheel back and forth in continuous movements with the crossfader in the open position.
Best player to learn scratching on
These days a disc jockey can scratch on pretty much any rig. As long as you have a mixer and player with some kind of platter or jog wheel you will be bale to learn how to scratch; however, there’s gear that will make learning to scratch much more effective.
Learning to scratch demands a significant amount of surface area for optimal hand movement. Since the fingers will be moving rapidly back and forth, platters & jog wheels should have adequate space for finger dexterity and mobility.
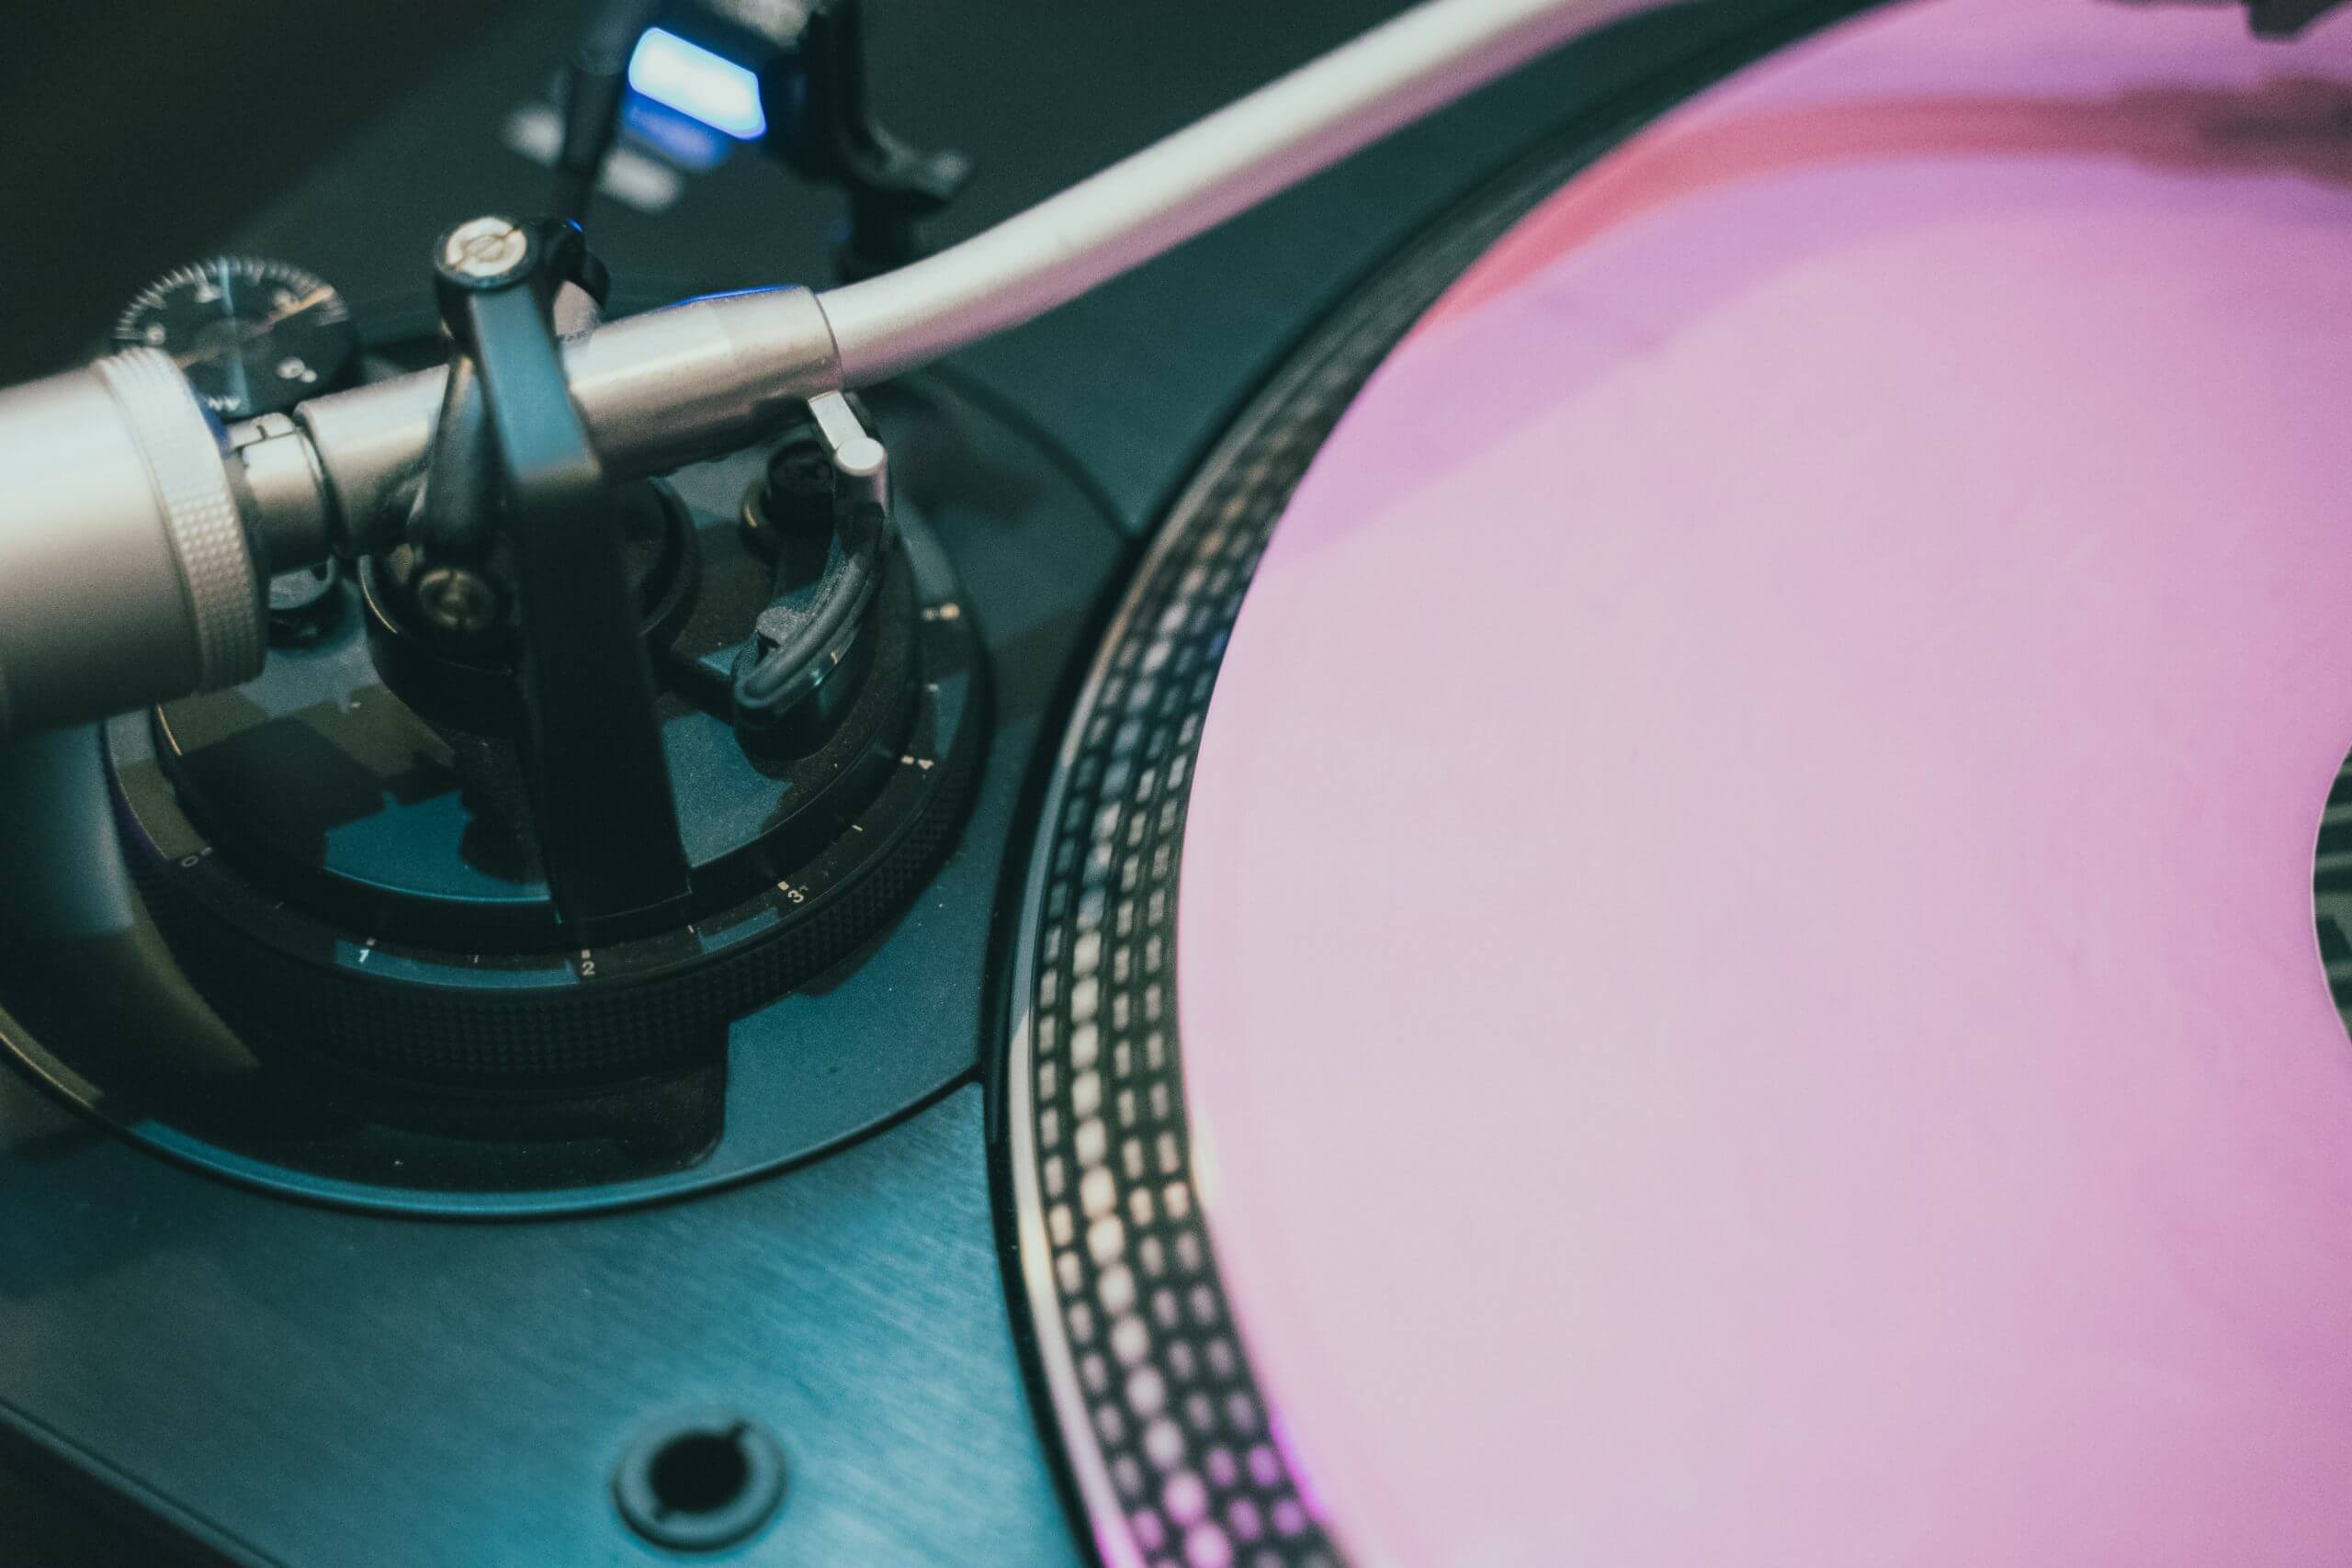
Scratch DJs often prefer using vinyl players because of the huge amount of space that a vinyl disc offers. Vinyl gives a DJ plenty of wiggle room so they don’t have to focus all their attention on finger placement – they can dedicate all their creative energy to making sure the scratching occurs rhythmically; pulsating with the beat.
Another reason vinyl reigns superior in scratching is the tactile feel of the turntable motor. The platter, driven by a motor, gives a DJ a physical sensation with each scratch. Tangibly feeling the scratch process happening refines the delivery of each scratch performed.
The ideal scratch setup will include a platter or jog wheel with a good amount of surface area and perceivable physical tension. Some DJ controllers come micro-sized, with tiny jog wheels. If you have a smaller DJ controller, you might want to upgrade to something a little more beastly if you are serious about learning how to scratch.
Digital controllers may have jog wheels with little or absolutely no tension. This will make your life difficult while learning to scratch. To test your controller, push the jog wheel back and forth and notice if you feel any resistance against your fingers. If you do, then game on. If you don’t, then you might be out of luck and might need to get yourself a better model.
A vinyl player is the ideal setup for learning to scratch, but we don’t want to discredit some of the phenomenal CDJs and controllers on the market. There are digital players with large, motorized jog wheels. Even if they don’t have motorized jogwheels, there are digital controllers designed with smart features that do about the same thing.
Some digital players have a ‘vinyl mode’ button that mimics the torque of an analog motor. Others may include a tension knob that applies an adjustable amount of force against the fingers during scratching.
The important thing is that your setup has adequate space for your fingers to maneuver during scratching and that the jog wheel has a little pressure against your fingers as you move it back and forth. If you start practicing with 4-inch jogwheels that feel like they are invisible, you’ll have one hell of a time mastering the scratch method and learning how to scratch generally.
How to use the crossfader
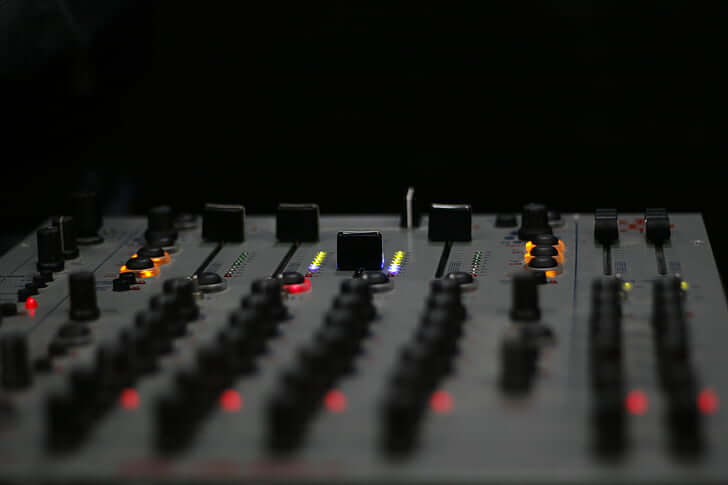
Using the crossfader correctly will make or break you learning how to scratch. The default curve for a mixer’s crossfader is slow, meaning that as you move the crossfader from one channel to the opposite channel, the music’s amplitude slowly lowers & rises from one track to the next. It’s also known as a “constant power” fade.
A slow curve on a crossfader is fine for general mixing, but you’ll want to set the crossfader curve to a “fast cut” when learning to scratch. A fast cut curve brings the music to full amplitude once the crossfader moves slightly from one channel.
This gives a DJ the ability to quickly splice in their scratching at the right moment & timed intervals. With a fast curve crossfader, the scratches enter the mix and leave quickly without any unwanted resonances. If you watch a scratch DJ operate the crossfader, it seems like they are thrashing it back and forth.
Each time they move the crossfader, it’s bringing in their scratching at the right moment with full amplitude and then cutting it completely. This brings about the cadenced presentation of the scratch method.
To control the crossfader curve, a mixer may have a rotatable knob to adjust the speed from fast to slow or may have preset curve settings. When learning to scratch, turn the curve knob to the fastest speed, or select the Fast Cut curve preset.
Choosing the right samples

Professional DJs use pretty much whatever sample they want for scratching. As seasoned veterans in the game, they can pinpoint a kick drum, snare, vocal point, or breakbeat in any song that is good for DJ scratching.
When learning to scratch, you’ll want to be way more selective about what samples you are using to form the craft. Here are some general rules for selecting ideal samples when you are just starting:
- Don’t DJ scratch using a song. Music has several elements that may make your scratches interfere with your overall mix.
- Scratch with the spoken word. You may know this as “A cappella.” It’s only the voice and no instruments. This will ensure your scratches come in clean.
- Scratch with one single sound or word. Practice scratching on the same word over and over again until you know how it sounds scratched in different intervals. A common sound used for scratching is the ‘ahh’ sound. A popular word is ‘Yeah.’
- Scratch over instrumental tracks. When learning how to scratch, you’ll want to scratch one word or sound over a purely instrumental track. Scratching vocals on top of vocals will trip you up from making the scratches thump with the beat.
How to operate the jog wheel

When you are right at the start of your learning to scratch journey, you might be clueless where to put your fingers on the platter and how to maneuver it. It’s a bad idea to imitate professional scratch DJs because they use any side of the platter, in any direction, to scratch. They’ve built up the skill to scratch practically blindfolded.
When you’re just starting with learning to scratch, you’ll want to position your fingers and push the platter in a specific way, on a certain area, and in an exact direction. Whether you use the left hand/left deck or right hand/right deck is up to you based on which one feels the best. Here’s a quick guide for optimal hand placement & manoeuvring:
- In your mind, split the jogwheel/platter in half vertically. You’ll use the half of the jogwheel facing away from the mixer.
- Place your fingers on 9 o’clock/3 o’clock. Imagine the platter/jogwheel as a clock. If using your left hand, you’ll place your fingers at 9 o’clock. If using your right hand, you’ll place your fingers at 3 o’clock.
- Use three fingers for the best traction. Use your pointer, middle, and ring finger for scratching. If you have a smaller jogwheel, use the pointer & middle finger.
- Let your wrist do the work. Most beginner DJs flick their fingers back and forth to create the scratch. You won’t get the best control doing this. Keep your fingers and palms straight during the process. Press your fingers down flat on the platter and rotate your wrist side-to-side to create the scratches.
- Pull the platter towards you, and then push it away from you. Starting at the 9 or 3 o’clock position, pull the platter towards you and then push it back away from you to the starting position to complete a full scratch.
- Don’t release your hand until you are finished with the scratch. Once you release the platter, the sample will begin to play. For full control over the scratch, keep your hand on the platter. You can release the platter later on after you’ve developed your scratch technique if want the sample to play out.
Putting it all together

Alright, so you have all your learning to scratch ducks in a row. You’ve got a platter or jogwheel with a decent amount of space with some perceivable torque. You’ve set your crossfader curve to fast. You’ve loaded up a sample of the spoken word. Finally, you’ve now got your fingers positioned in the right place, palms flat and are using your wrist to rotate the disc.
Here’s how you can sprint from the learning to scratch beginner’s gate to the expert finish line:
- Set a Cue point at the start of the sample. If you are using vinyl, place a sticker on the record to mark the sample’s beginning. Setting a cue point at the start will help you align the scratches perfectly each time you begin a new scratch. Rather than seeking backward to the very beginning, you can easily hit a cue button.
- Practice scratching back and forth steadily without music. This might seem too basic, but it’s crucial to build the muscle memory in your hand and wrist to work the jogwheel.
You are the Karate Kid practicing your foundational musical martial arts – WAX ON, WAX OFF. If you have to concentrate too much on the movement, you won’t be able to scratch effectively over the music. You’ll get easily distracted.
Push the pitch fader all the way down on the sample track. Push the platter towards yourself, and push it away from you in the same cadence – over and over again. Use a metronome and time your scratches to match up with each beat. One beat will be a full scratch back and forth.
- Learn to Scratch to the rhythm of a simple, slow song. Choose an instrumental song that you like and put the pitch fader all the way down so it’s as slow as possible. Practice timing your scratches with each beat. Practice this over and over until your wrists hurt and your fingers ache.
- Double time your scratches to the beat. Now practice scratching twice for every beat. Do this until your wrists feel numb and your fingers go limp.
- Alternate double-time scratch with a normal time scratch. Engage a single scratch for one beat and then do two scratches for the next beat. Then try two scratches for one beat and a single scratch for one beat. If the song is 4/4 time, do two regular time scratches and then 4 double time scratches. Rinse and repeat A LOT!
- Engage the Crossfader. The crossfader will be hard-panned to the instrumental deck. Right as you begin a scratch, push the fader slightly away from the instrumental channel. Right as you end a scratch, push the fader back into the instrumental deck.
- Practice at full speed. Bring the pitch faders on both decks back to” 0” so they play at normal speed. Practice scratching rhythmically to the beat. Try double timing the scratching and using the crossfader to enter and cut the scratches into the mix.
- Build from there. Develop an ear for when scratches should occur and at what rate. Splice scratches periodically, artistically.
Learning to scratch takes practice
As I mentioned, to learn to scratch as a skill takes work. DJs spend hundreds of hours practicing their style just so they can feel confident scratching in front of an audience. With enough dedication and time, you’ll wow people. They’ll hear your scratch technique and emit a thunderous roar of enjoyment. Nothing will be more satiating than that moment.
If learning to scratch was easy, then everyone would be doing it and it wouldn’t be special. The zeal of scratching is that it demonstrates you’ve got true talent as a DJ. This tutorial will take you from nothing to something, from struggling to achieving. Follow the tips and practice the step-by-step. You’ve got scratching as a DJ in your DNA – you just need to unleash it. Don’t sweat it, you’ve got this.
