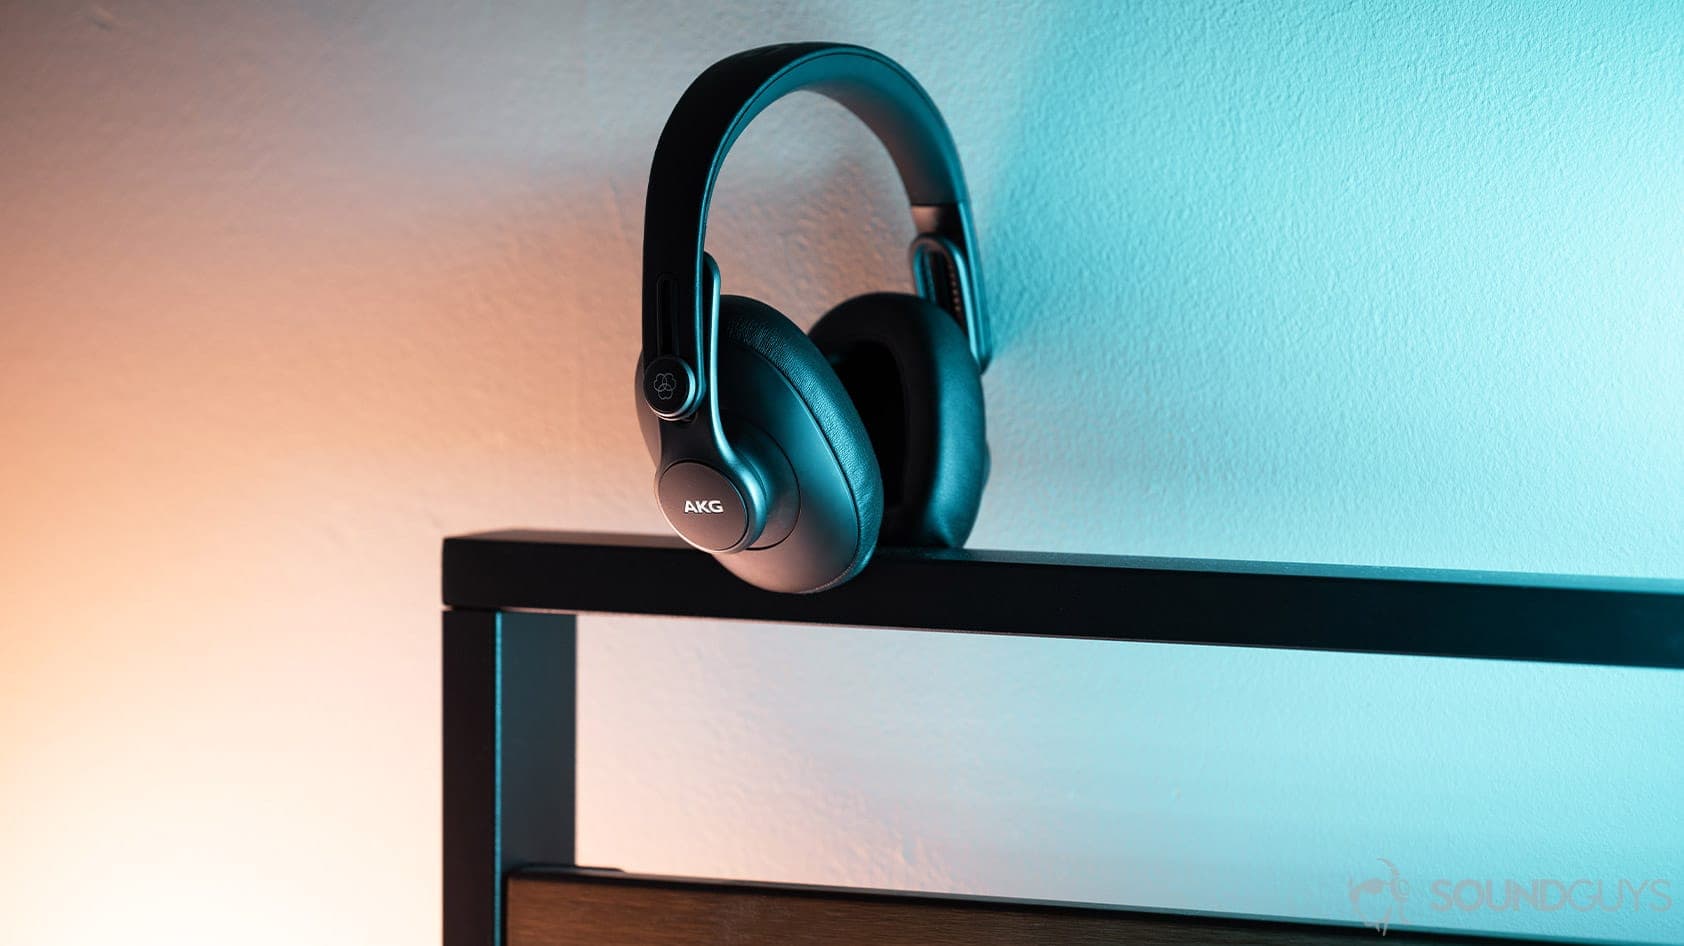
Search

Getting Started with Traktor: Your Essential Guide

Getting started with Traktor has its learning curves. However, we’ve made it super easy to understand in this straight forward Essential Guide.
Reviewed by
This page may contain affiliate links. When you click an affiliate link, we may get a small commission at no cost to you. Read our Affiliate Disclosure to find out more.

If you’re a fan of electronic music or even just the art of DJing in general, the chances are you would have heard of an iconic piece of software called Traktor DJ. In this article, we take a look at Native Instruments flagship DJ software.

We will show you some of the best ways of getting started with Traktor as a DJ software. We put the pieces together to bring you an Essential Kick Start Guide that will have you getting started with Traktor DJ in no time at all.

One of Traktor DJ’s most impressive features – of which there are many – is the little time it takes to go from the first install to playing the first track. As one of the industry’s leading DJ software choices for well over a decade now, Traktor DJ has grown alongside the evolutionary phases of performance equipment.

As a result, Traktor DJ caters to a wealth of analog and digital setups, with a depth that takes some beating.

Quick links:

Setup Wizard

Getting Started with Traktor

The simplest way to get set up and actually getting started with Traktor is by using the super-helpful Setup Wizard. Ultimately, it offers you several options to choose from across the two most vital parts of performance – the Mixer and the Decks. Let’s look at getting started with the Traktor Setup Wizard in a bit more detail. 

Opening the Setup Wizard

Depending on the type of machine you are using, the Setup Wizard may sit in a different place in another operating system. In most cases, if you open the ‘Preferences’ window (often accessible using the cog icon in the top right corner of the main screen), you will find the Setup Wizard in the bottom left corner of the screen that pops up.

Tab 1 – Welcome

Screenshot 2021 10 01 at 12.16.57 edited 1

Upon getting started with the Traktor Setup Wizard, you will be reminded to ensure that all of the necessary equipment you intend on using with Traktor DJ is correctly connected. It’s always wise to take a second to double-check that all controllers and devices are firmly attached to your machine and in their performance resting place.

Tab 2 – Mixer Setup

Screenshot 2021 10 01 at 12.18.02 edited

In this step, you will choose between Native Instruments’ Traktor Kontrol unit or getting started with Traktor by picking a mixer of your choosing. If the answer is ‘No’, you will see another screen that will allow you to choose from a whole host of manufacturers and mixer models as well as controllers – including Allen & Heath, Pioneer, Behringer and many more.

Tab 3 – Deck Layout

Screenshot 2021 10 01 at 12.18.28 edited

Much like the last screen, this one has many choices. You can choose between Timecode Vinyl or CDs for your preference to control Traktor DJ’s decks, as well as how many you will want to use. If it seems a tad confusing, don’t worry, you can go back and edit this later within the software.

Tab 4 – Summary

Screenshot 2021 10 01 at 12.18.41 edited

This final section gives an overview of the choices you have just selected. From here, you can either go back and make changes, close the Setup Wizard entirely or click ‘Finish’ to save your configuration.

Controller Not Visible in the Mixer Setup Stage?

If you’re planning to use an all-in-one style DJ Controller, there is a chance that your chosen device may not be in the drop-down for its respective manufacturer. If you find that it isn’t listed, fear not, this is a common issue when getting started with Traktor. It doesn’t mean that it isn’t supported.

Thankfully, Traktor DJ has an in-depth functionality for configuring controllers – which supports the sometimes wild setups some top DJs like Carl Cox, Chris Liebing and Richie Hawtin love to advocate.

There are a few options available to you if you find yourself in this situation. The first port of call will be your controller manufacturer’s website.

Some sites like Pioneer and Reeloop, for example, often post up to date .tsi files that allow you to import all of the required general usage settings for your device into Traktor DJ – using the ‘Import’ button at the bottom of the preferences screen.

Audio Configuration

Screenshot 2021 10 01 at 16.45.36 edited

Once you have completed the Setup Wizard, you’re going to be keen to get playing quickly. In most cases, the likelihood is that you’re going to need to set up the audio configuration to enable you to use the preview/cue function on your mixer. There is a straightforward set of actions that you will need to take:

How to configure audio in Traktor

  1. Open the Preferences screen and select the Audio Setup tab.
  2. Click on the drop-down list at the top of the Audio Setup screen and select your external Audio Device (Mixer/Controller).
  3. Select the Output Routing tab on the left of the page and select ‘Internal’ under Mixing Mode.
  4. Select an output pair (one left and one right) for the Master Output on your external Audio Device (Mixer/Controller), as well as selecting another duo for the Monitor Output on your external Audio Device (Mixer/Controller).
  5. Run a quick test by cueing up a track with all channel faders down on your external Audio Device (Mixer/Controller) and your headphone input set solely to the ‘Cue’ position. You should hear audio only in your headphones and not your speakers.
  6. If you have sound coming out of your speakers instead of your headphones, invert the output pairs you chose in step 4, and you will be good to go!

Choosing The Layout

Screenshot 2021 10 01 at 12.30.14 edited

At last, the final piece of fiddling when getting started with Traktor DJ. You will soon be loading your first track. But you must first select your preferred deck layout.

You can, of course, construct one entirely from sections of the Preferences screen, but we would recommend choosing from one of Traktor’s in-built options when getting started with Traktor DJ.

These are available to select using the drop-down list in the header section of the main screen (just offset left from the cog icon).

There are six individual preset layouts available in Traktor DJ

Essential

Screenshot 2021 10 01 at 12.29.23

Extended

Screenshot 2021 10 01 at 12.29.32

Browser

Screenshot 2021 10 01 at 12.29.39

Mixer

Screenshot 2021 10 01 at 12.30.59

Parallel

Screenshot 2021 10 01 at 12.29.56

Preparation

Screenshot 2021 10 01 at 12.30.03

Each layout offers different visibility and functions, so we would encourage you to play around with each one to find a comfortable option to suit your style of playing. 

Importing Music

Screenshot 2021 10 01 at 12.30.59 1 edited

Importing your music is possible via a few different methods, with the easiest being simply dragging and dropping from a folder on your machine. You may want to import your entire music library or just specific playlists/tracks; you can do all this using the drag and drop method. 

Getting started with Traktor: Our Essential Kick Start Guide

Getting Started with Traktor edited

You have set up your hardware, audio, layout and imported some music. You now have everything you need to start using Traktor DJ and honing your skills.

This essential getting started with Traktor DJ kick start guide covers the bare essentials to get you playing music as quickly as possible. 

You will now be able to do just that for as long as you need before moving on to more advanced functionality within the software.

Tony Allen
Written by
Tony Allen has been involved in the electronic music space for over a decade now – as a consumer, performer, and industry professional. His love of electronic music, mainly house and techno, have seen him become an active member of the UK scene and wider electronic community. As an industry professional, Tony’s bow has many strings. He has a wealth of experience covering PR, Consultancy, Digital Marketing, Social Media, Editorial, and much more.

The Comments Section

We'd love to hear what you think about this article. Let us know in the comments section below and get the conversation going.