


If you are pretty new to the DJ scene then I imagine one of the least understood or recognized bits of DJ kit for you will be the age-old slip mat. This essential DJ tool has been around since DJing began as is utterly essential for vinyl DJs.
So, what is a slip mat? In truth, slipmats are surprisingly useful, and using good quality slipmats can potentially make all the difference in the world for vinyl DJs as they steadily master the basics of mixing and beatmatching.
In this brief guide, we’ll get into what slipmats are, how they work, as well as how to properly set them up.
What is a Slipmat? (in short)
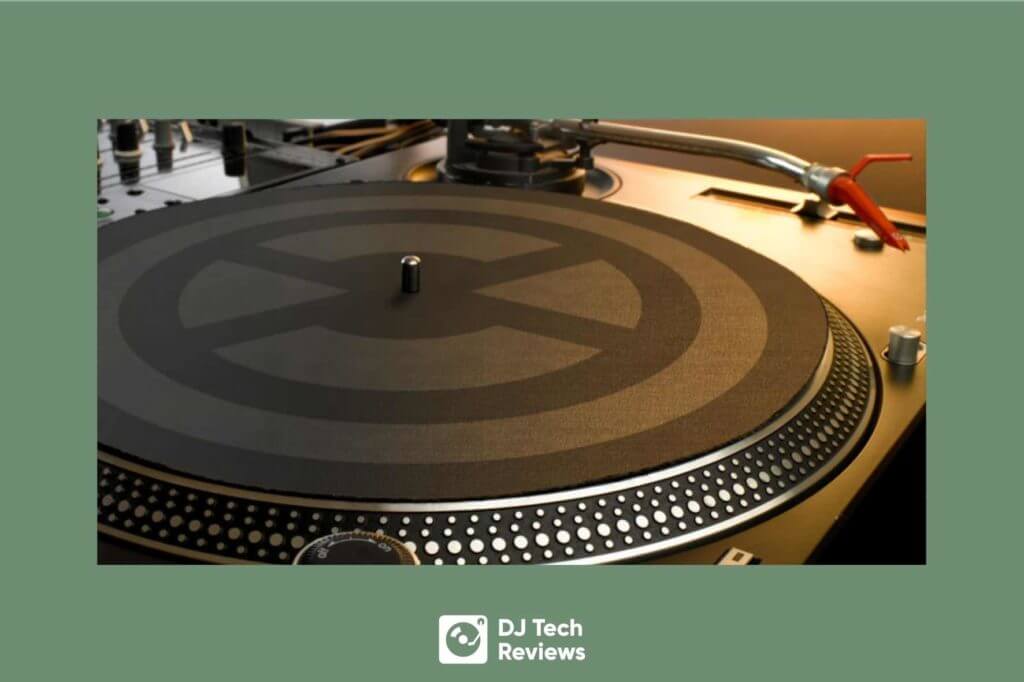
Slipmats are, as the name implies, a small mat that is placed between the vinyl record and the deck plate of your DJ turntable mats. These special vinyl turntable mats work by keeping the record itself still even while the plate continues to spin. By creating this discrepancy, a DJ can more accurately scratch and, most importantly, cue in a particular track, thus improving your overall performance.
What Are Slipmats (And Why Do We Need Them)?
While there are many reasons for using a slipmat, it all boils down to friction.
DJ deck plate platters are naturally very sensitive to spinning, and can reasonably hold still. However, more often than not, DJs may use too much or too little force.
If you’re using too little force, you won’t cause the record to fully stop, potentially ruining your timing. If you apply too much force, you not only can potentially damage the record, but you will also prevent the plate itself from moving.
By using a slipmat, you reduce as much friction between the record and the plate as possible, ensuring you can get as many of the cool effects as possible without the risk of damaging your records or turntable platter mat.
Read this next: How Much Does A Vinyl Record Weigh? (Exactly)
How To Set Up A Slipmat
The setup process for a slipmat is luckily a fairly simple one. Super simple, but pay attention.
Here, we’ll go over, step-by-step, all the things required to put your DJ slipmat in place.
Step #1. Remove Rubber Mat
First, you’ll need to remove the initial rubber mats that your deck or turntable slipmat came with. This will reveal the deck plate. It’s important to also note that, when removing the rubber mats, you aren’t removing the traditional rubber mat coating.
The coating shouldn’t be able to come off easily like the rubber mats does, and is very important to the integrity of the deck plate itself.
Step #2. Install Slipmat
Next, once you’ve removed the rubber mat from the deck plate, you’ll want to then install the felt slipmat. This is a pretty simple process and only involves sitting the slip mats itself on the deckplate and replacing the initial rubber mats.
Read this next: 33 vs 45 Vinyl (Record Sizes Explained)
Step #3. Put Your Vinyl On Top
Last, after you’ve put your slipmat on the deckplate, you’ll then put your vinyl record over it. This will allow you to, while the deckplate is still spinning, stop the record or hold it still.
This process lets you scratch and plays with a song much more easily and accurately than otherwise, where you run the risk of damaging the record itself.

Read this next: Do DJs Still Use Vinyl?
Which Slipmats Should I Get?
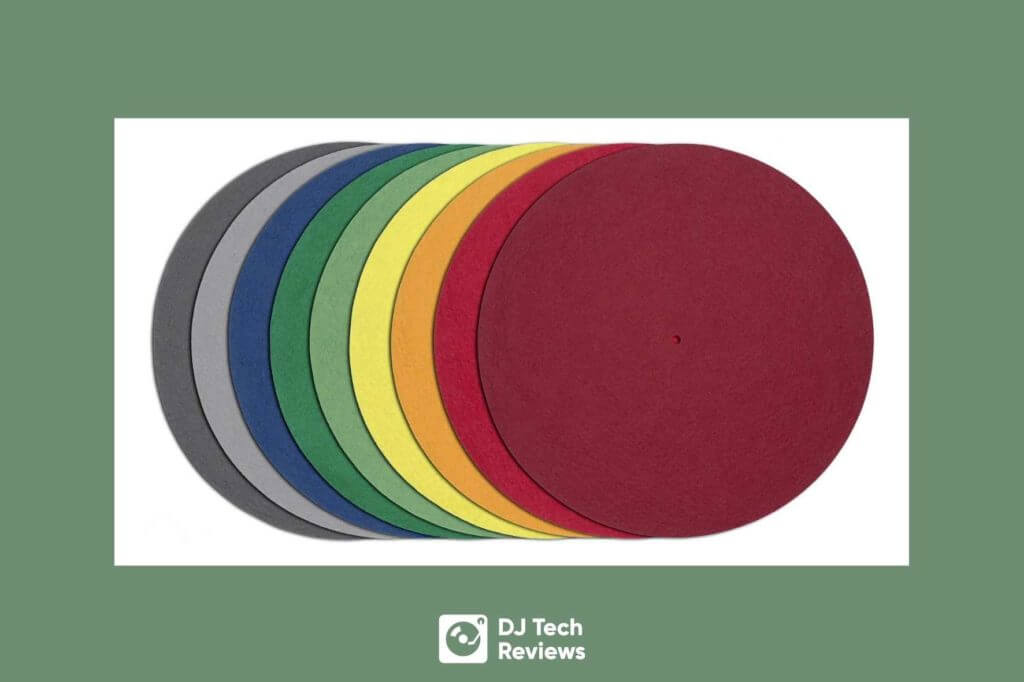
The good news is that, based on what you’re interested in, there are a ton of different felt slipmats that are available.
However, just because there are a lot of options out there doesn’t mean that all of them are ideal. If you’re looking for the best performance, you’ll want to skip the elaborately printed designs and go for the more plain and simple options.
If you’re just starting, getting a slipmat that is thin and light should be your main goal. You can also look at more specific slipmat options if you are focussing on scratch DJing.

Read this next: Direct Drive vs Belt Drive Turntables (What’s Your Favourite?)
What is a Slipmat? Takeaway
We finish with our ‘what is a slipmat‘ takeaway. If you’re just starting out, there are a ton of different things you have to keep track of, with slipmats being only one in a long list of different things.
Just don’t overthink this
Your best bet is – if you plan to use a vinyl turntable platter setup – to invest your time on a simple mat design and go from there.
After you’ve grown and improved your scratching skills, you can then think about getting some felt mats that better display your brand or DJ personality.
To be honest, I have used the same simple slipmats for years now.
I am rather attached to them I must say.

Read this next: The Complete History of the Technics 1200 DJ Turntable
