Serato are industry leaders in DJ software. After making moves into the world of music production with their Serato Sample Plugin they now have a fully fledged music making solution in the form of Serato Studio.
This is a DAW with a workflow focussed on DJ edits, bootlegs, mash-ups and beatmaking. The version 1.4 update saw the addition of a free version. We decided to dive in and see what Serato Studio is capable of and let you know our initial thoughts.
Installation and Setup
Serato Studio’s installation was a breeze and the set-up wizard worked perfectly. You need a Serato account to use the software, and you can sign up from inside the program if you don’t already have an account. The first time you open Serato Studio it will automatically scan your computer for any VST’s (and Audio Units) that are already on your computer.
For me this took a while and, as I was eager to get going I started previewing some of the samples and drum kits. There was a lot of unpleasant audio glitching which must have been caused by the program working in overdrive to detect and organise all the audio gubbins on my computer.
After a bit of patience all my usual VST’s were neatly displayed in ‘Effect’ and ‘Instrument’ folders on the Plugins tab. The Serato Studio program automatically detected and connected to my audio interface, I barely had to lift a finger when it came to setting up and actually making sound.
User Interface
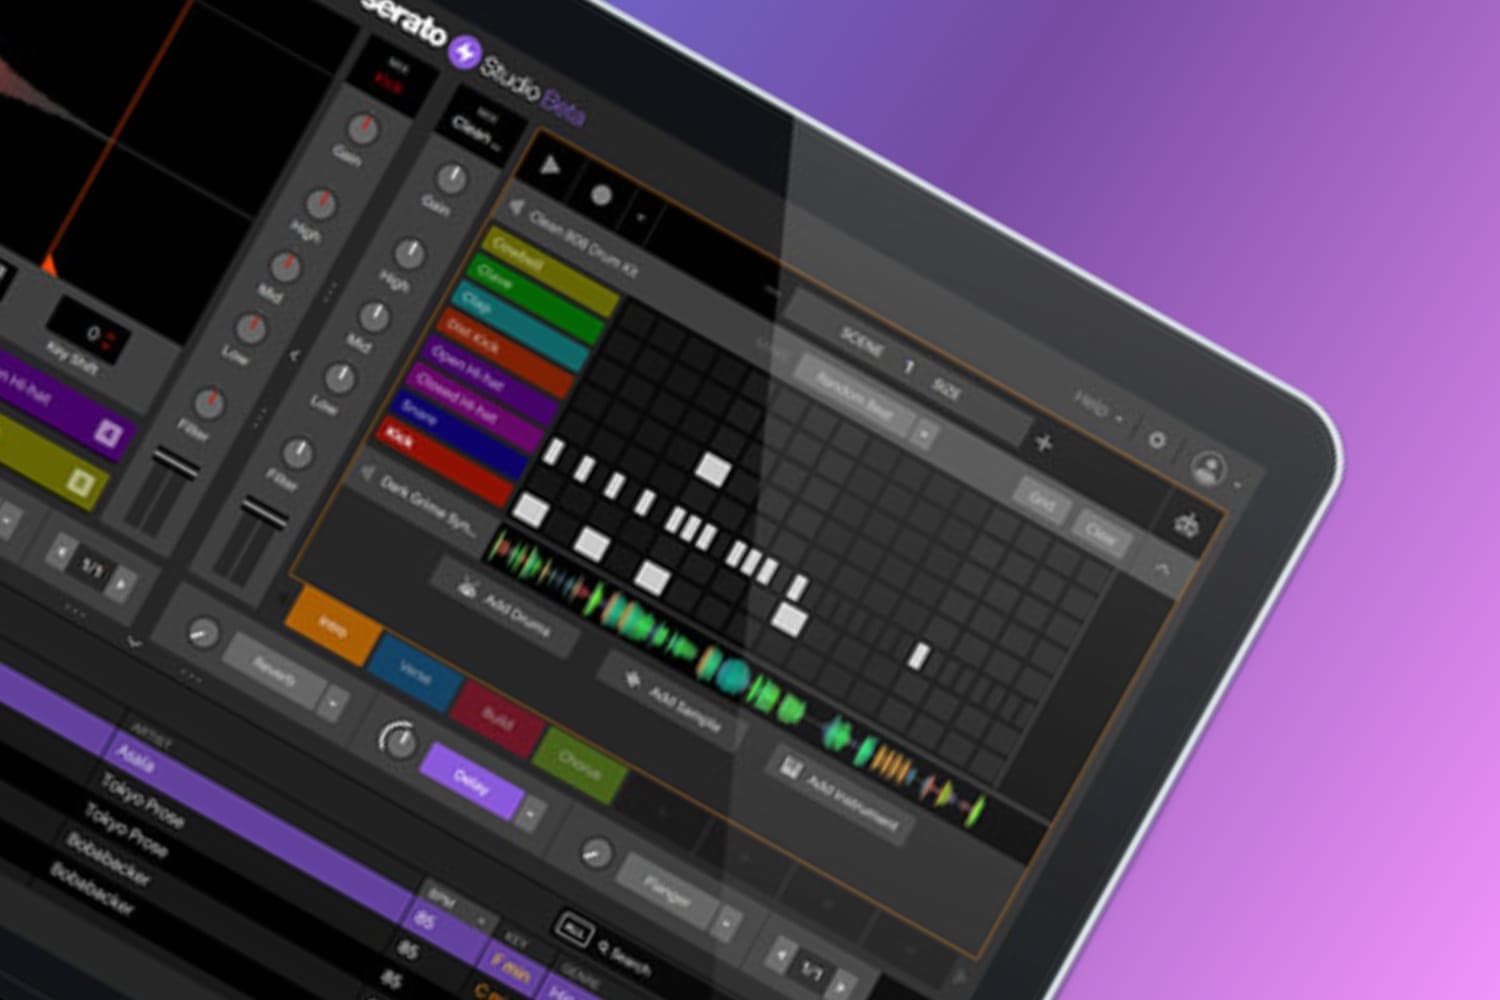
Any Serato DJ user will feel at home with the overall aesthetic of the Serato Studio user interface. The navigation panels look and behave exactly like in Serato DJ. The waveforms that appear in various places also have a nice familiarity to them. In keeping with the DJ-style workflow there is a three band EQ, filter and upfader for each ‘Deck’. The ‘Decks’ are split into four types; Drum Decks, Instrument Decks, Sample Decks and FX Decks. In this free version we have the ability to load up to four decks, which should be plenty for most edits and mash-ups.
An important part of the user interface is the ‘Project ToolBar’ which has easily accessible Global Settings which will also be familiar to Serato DJ users.
Project Toolbar
Here we can set the Key and Scale for our project. This is actually a unique feature for a DAW and is a godsend for those who are totally new to production and don’t yet have any music theory experience.
Below this we are presented with a three panel interface, something that users of both Ableton Live and FL Studio should be comfortable with. The bottom panel is for browsing samples, instruments, FX, drum kits etc., as well as your existing Serato Library, the integration of which is pretty effortless.
Once you have imported your library you can navigate it in the same way as you would do in the DJ software. Serato Studio will read all your existing cue points, which is fantastic if you had edits in mind for tracks that already have cue points that have been previously set in Serato DJ.
Instrument Deck View
Serato has always been known for good screen real estate and this design ethos continues with Serato Studio. The clicking and dragging method of resizing sections is really intuitive. Plus there are clearly marked arrows that can be clicked to switch between the library and the ‘Song View’, which is a linear timeline view of your whole track.
Song View
Accessing the ‘Master View’ was less obvious though. After some fumbling around I discovered that when you click on the ‘Master Chanel’, it opens a new interface where you can apply some final processing to get your productions to match those of commercial releases, in theory anyway – more on this later!
Master View
Making Beats with Serato Studio
Serato Studio includes a selection of preloaded Drum Kits, Samples and Instruments, so if you don’t already have a sample library and VST collection there is a good amount to get stuck into. There are also a bunch of free Sound Packs from some highly respected producers and sound designers that can be downloaded from the Serato website.
With regards to FX, each ‘Deck’ has three FX slots, as does each cue point or drum hit within a deck. Having the ability to have a set of FX for certain slices of a sample is a really great way of adding interest to our productions. The implementation of this workflow is another unique and enticing feature of Serato Studio. The FX View can be toggled on and off using the Project Tool Bar, much like in Serato DJ.
All Samples, Drum Kits, Instruments (etc.) can be dragged and dropped to the upper right-hand panel, and this will determine what we see in the top left-hand side panel.
After loading a Drum Kit, I dragged in a track from my Serato Library that already had cue points, bashed around on my MIDI Controller and instantly had some pretty decent chops coming out of my speakers – I didn’t even have to set up any MIDI mapping, the keyboard worked straight off the bat, which was great. I then started adding some of the inbuilt FX on a few different pads and very quickly had some nice ideas.
When loading Drum Kits and Instruments, the left hand panel reacts in a similar intuitive way. It is easy to start laying down beats and musical ideas. The Drum Decks even have an auto beat generator with patterns for various genres, which are super easy to modify to your taste.
Auto Beat Generator
After quickly cycling through a few drum patterns I quickly found one that matched the vibe and tempo of my sample and was able to start jamming out with my sample chops on the MIDI controller. If you don’t have a MIDI controller it’s still possible to perform using the computer keyboard. It was really easy to extend the length of my beat, add FX to my cue points, and then record in a pattern in real time. As my timing isn’t the best I left the quantize feature on which meant all the notes I entered snapped to the grid, but this can easily be turned off if you want that more human feel.
The Processing
Pretty much all of the inbuilt FX sound amazing, however there is very little control beyond an amount knob and time divisions. It is likely you will want to use some 3rd party plugins, especially if you like a graphic EQ, which is something even the full Serato Studio version does not include. There are, however, plenty of free graphic EQ’s out there. There is also a lack of a dedicated saturation plugin.
Accessing 3rd party FX was not as obvious as 3rd Party Instruments because they can not be selected from the drop down menus on the dedicated FX slots. Instead they need to be located in the Plugins tab, then dragged on to an available FX slot. Worth noting that there are only three FX slots available, regardless of them being Serato or 3rd Party FX.
FX View
Bringing It All Together in Serato Studio
After some experimentation, noodling around and laying down some core ideas in several different ‘scenes’ we can begin to put them on the timeline using the Song View.
The concept of scenes will appeal to those familiar with the MPC style workflow, whereby a defined set of multiple patterns make up a ‘scene’, which can be easily renamed to reflect the sections of our song such as “intro”, “chorus” etc.. There are a maximum of four scenes in the free version.
After nailing the structure it was time to add a few audio samples to help with transitions. These can be dragged and dropped from the Samples tab or your own sample library.
Unfortunately there can only be one Audio Track without upgrading, and you can’t have different samples on the same track.
This was a big limitation in terms of adding a bit of fairy dust to the production. It would have been ideal to add a couple more uplifters, sweeps and maybe a drum or texture loop to gel the scenes together.
This particular Serato Studio project didn’t require any automation, however the lack of automation in the free version could be a significantly restricting factor if you’re aiming for more complex productions.
Now it is time to bounce out our track so we can listen to it back and even play it alongside our favorite tracks in our DJ sets. As mentioned earlier, there is a Master View inside Serato Studio where there are an additional three slots available for Master FX. This is a very nice touch, but there is a glaring omission up to this point – no mixer page!
Pretty much every DAW has a view where you can see all channels levels at the same time, which feeds into a master output where we can monitor the overall dynamic range and level of the track.
Most producers that are familiar with traditional DAW’s will struggle to get accurate mixes without a dedicated mixing environment. That said, the live updated waveform at the bottom is really nifty, and again, a DAW first, and it does give really valuable feedback about the loudness and frequency content of the track.
Despite this there is no overall loudness meter, and if you wanted to use a 3rd party one you would be taking up one of three valuable Master FX slots.
The Master FX are a little crass and there’s no doubt that sending your mix off to an engineer for final processing will yield better results.
That said, with the waveform feedback and a little trial and error, I was able to get something that would sound OK next to a professionally mixed and mastered commercial release, however the free version only allows you to bounce out the full track in .mp3, and no option to export to stems.
Our Verdict on Serato Studio
Serato have clearly given the Serato Studio software a lot of thought and it is definitely geared towards new producers and beatmakers that have a DJing experience or a heavily sample based workflow. It is really intuitive, easy to learn, and most of all, lots of fun! I think this is something the developers have had in mind, there is little in the way of menus and cryptic buttons to access features so that the focus can be on making music without any faff.
The free Serato Studio version and the limitations that come with it mean that this is a great environment to get to grips with music production and start honing your skills. It’s also a perfect solution for edits and mash-ups as long as you don’t want to start layering loops and automating parameters.
Those that are a little more advanced will likely find the limitations too much of a hindrance when it comes to making commercially viable tracks, and it’s fair to say that even the full version of Serato Studio is not the ideal environment for finalising music prior to distribution, but with the ability to export to stems in the paid version it can be considered a very unique and formidable sketch pad.
You can download the free version here and also take a look at the comparisons between the free and paid versions.